Nubbo connects to Wasabi with an access key and the region of your buckets. In a few minutes they are in a file explorer with direct uploads, share links and galleries. This guide follows the Nubbo wizard step by step, with both paths: automatic or with a key limited to one bucket.
What you get
- Browse the bucket like a drive: folders, views, search, trash, labels and favorites.
- Upload and download files directly between your browser and Wasabi. Files never pass through Nubbo servers.
- Share files and folders with a password, expiry and download limit, receive files into your bucket and create galleries.
- Your keys are stored encrypted with AES-256-GCM and you can disconnect the bucket at any time.
Before you start
You need an account with Wasabi and a Nubbo account. Every bucket you connect counts toward your plan limit: Free allows 2, Personal 5 and Pro has no limit. Wasabi has 16 regions and Nubbo asks for the bucket’s region because each one has its own endpoint. If you do not have an account yet, Wasabi offers a 30-day free trial with up to 1 TB and no card.
Choose how to connect
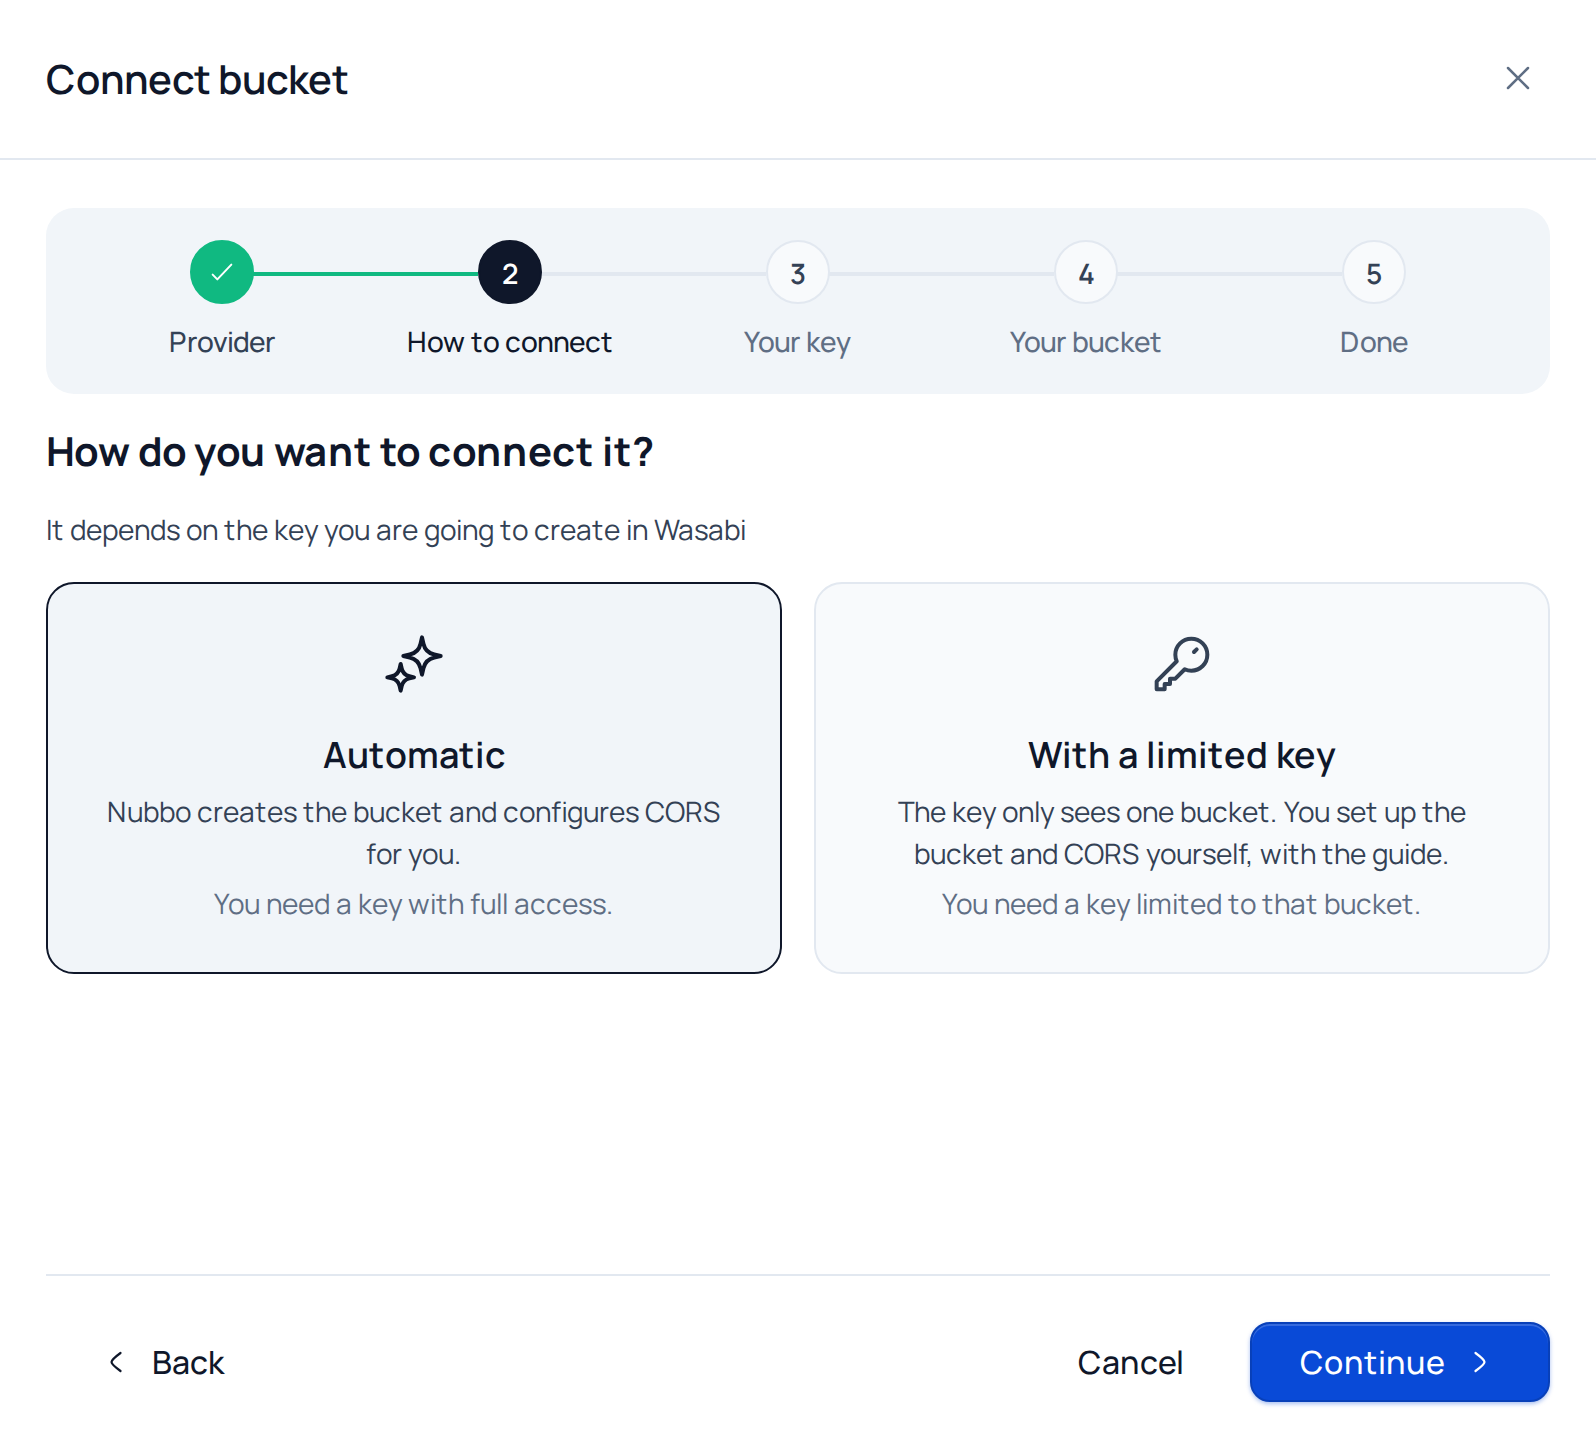
The Nubbo wizard offers two paths. Both end the same way: the bucket connected and ready for uploads from the browser.
| Automatic | With a limited key | |
|---|---|---|
| Key | Access to the whole account | Limited to one bucket |
| Bucket | Nubbo uses one of yours or creates a new one | You create it first |
| CORS | Nubbo checks the Wasabi CORS | You check it |
| When to choose it | The fastest way | When you do not want to give access to the whole account |
Automatic connection
Step 1: create the key in Wasabi
- In the Wasabi console, open Access Keys and press Create Access Key.
- Choose Root User, or a Sub-User with the WasabiFullAccess policy, and press Create.
- Press Show and copy the access key and the secret key, or download the CSV. Wasabi will not show them again.
Step 2: connect the bucket in Nubbo
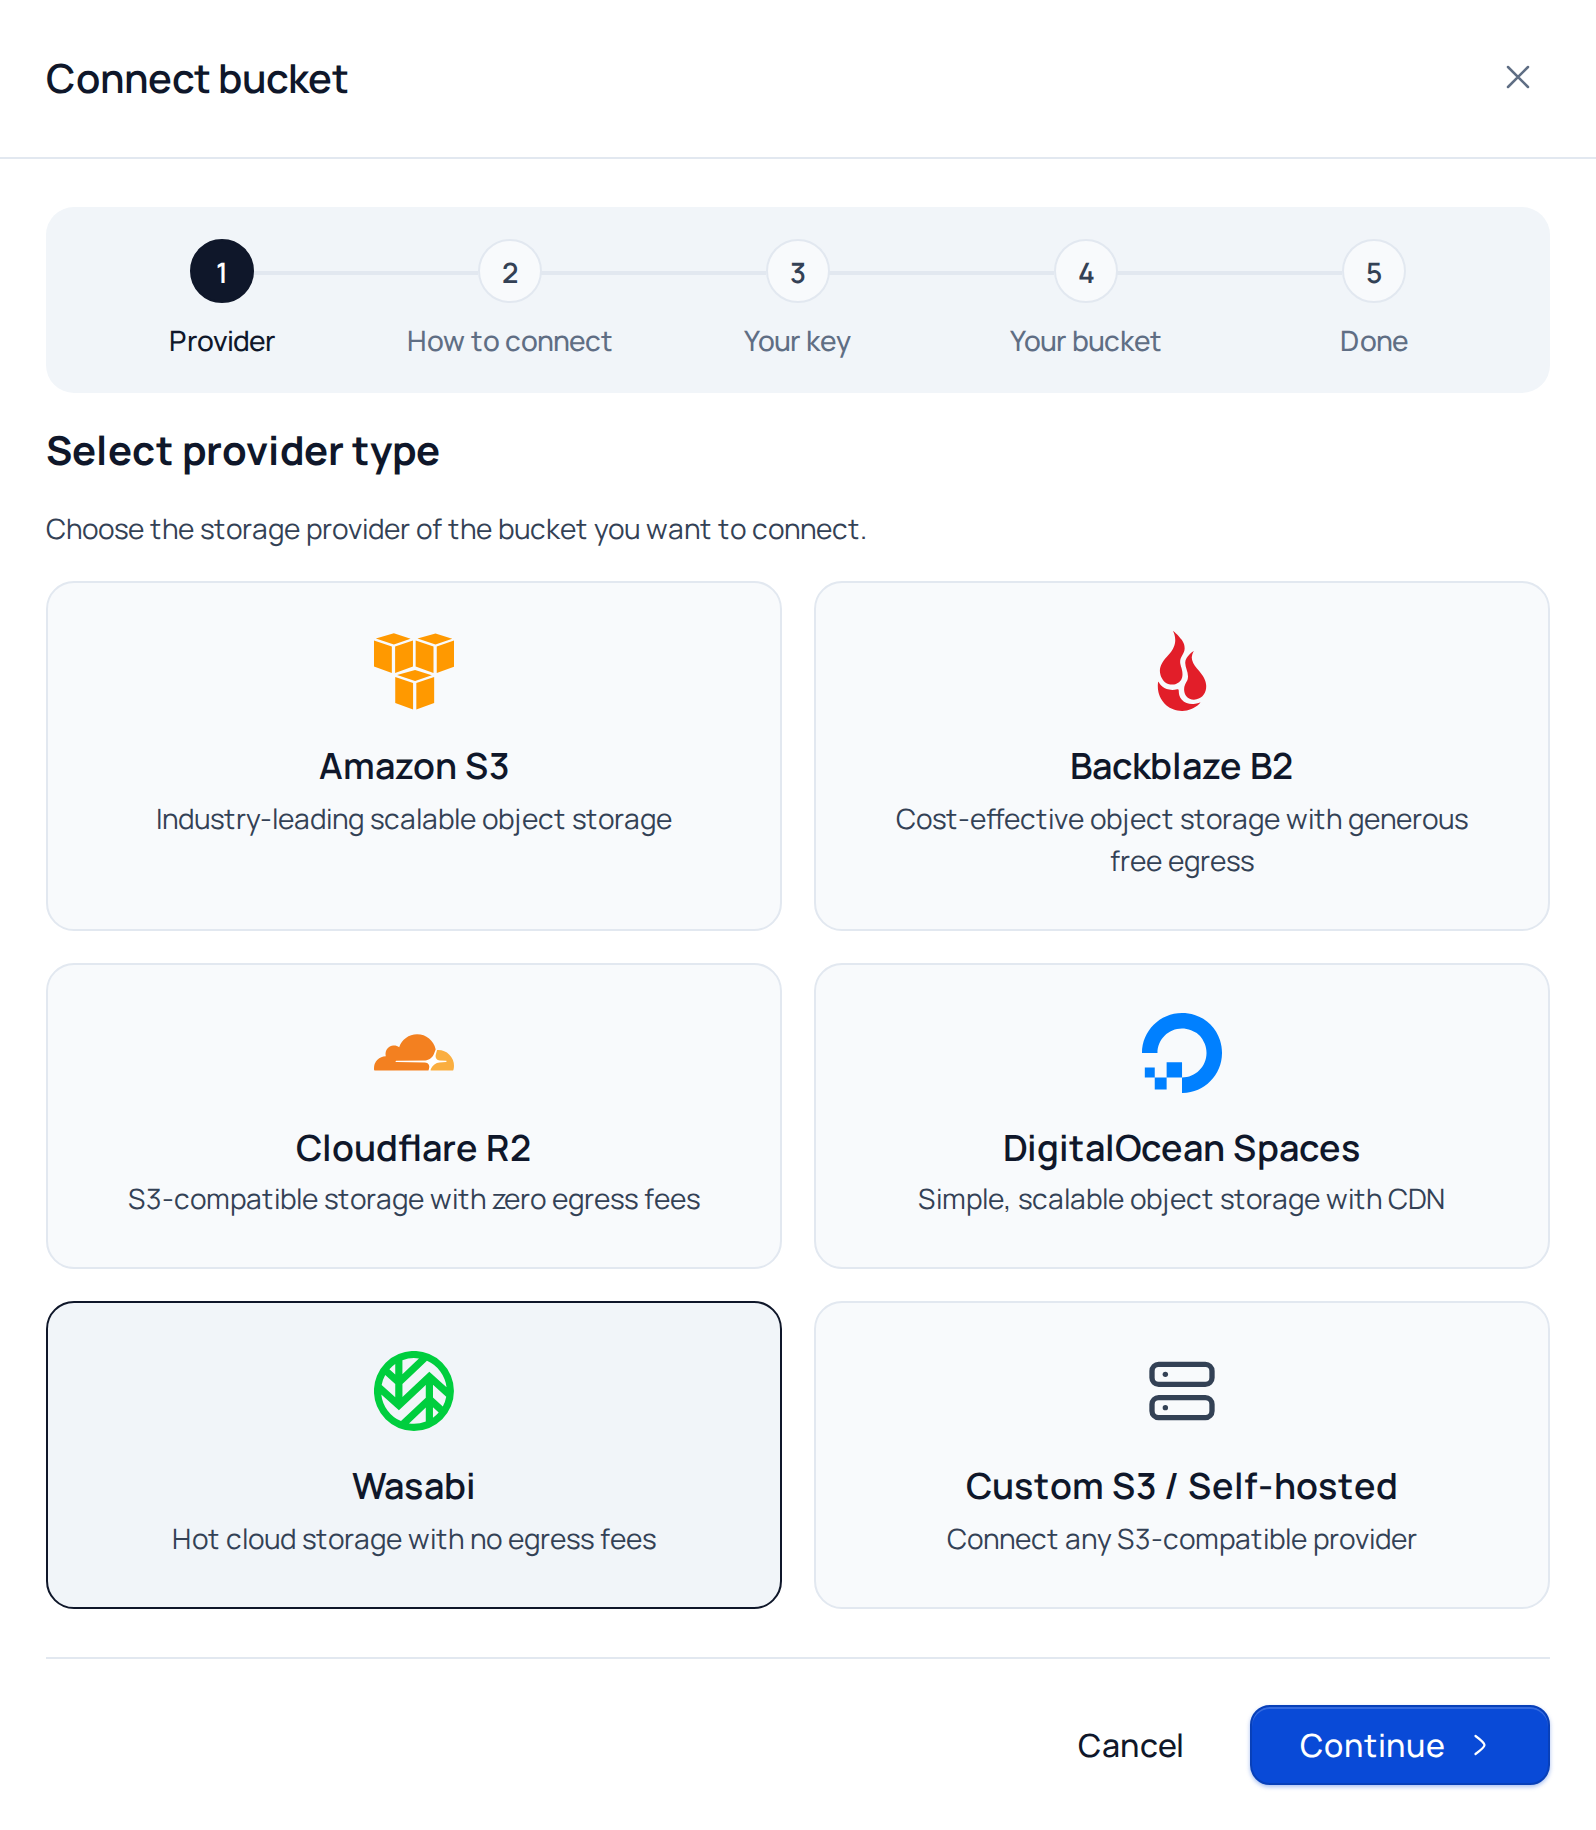
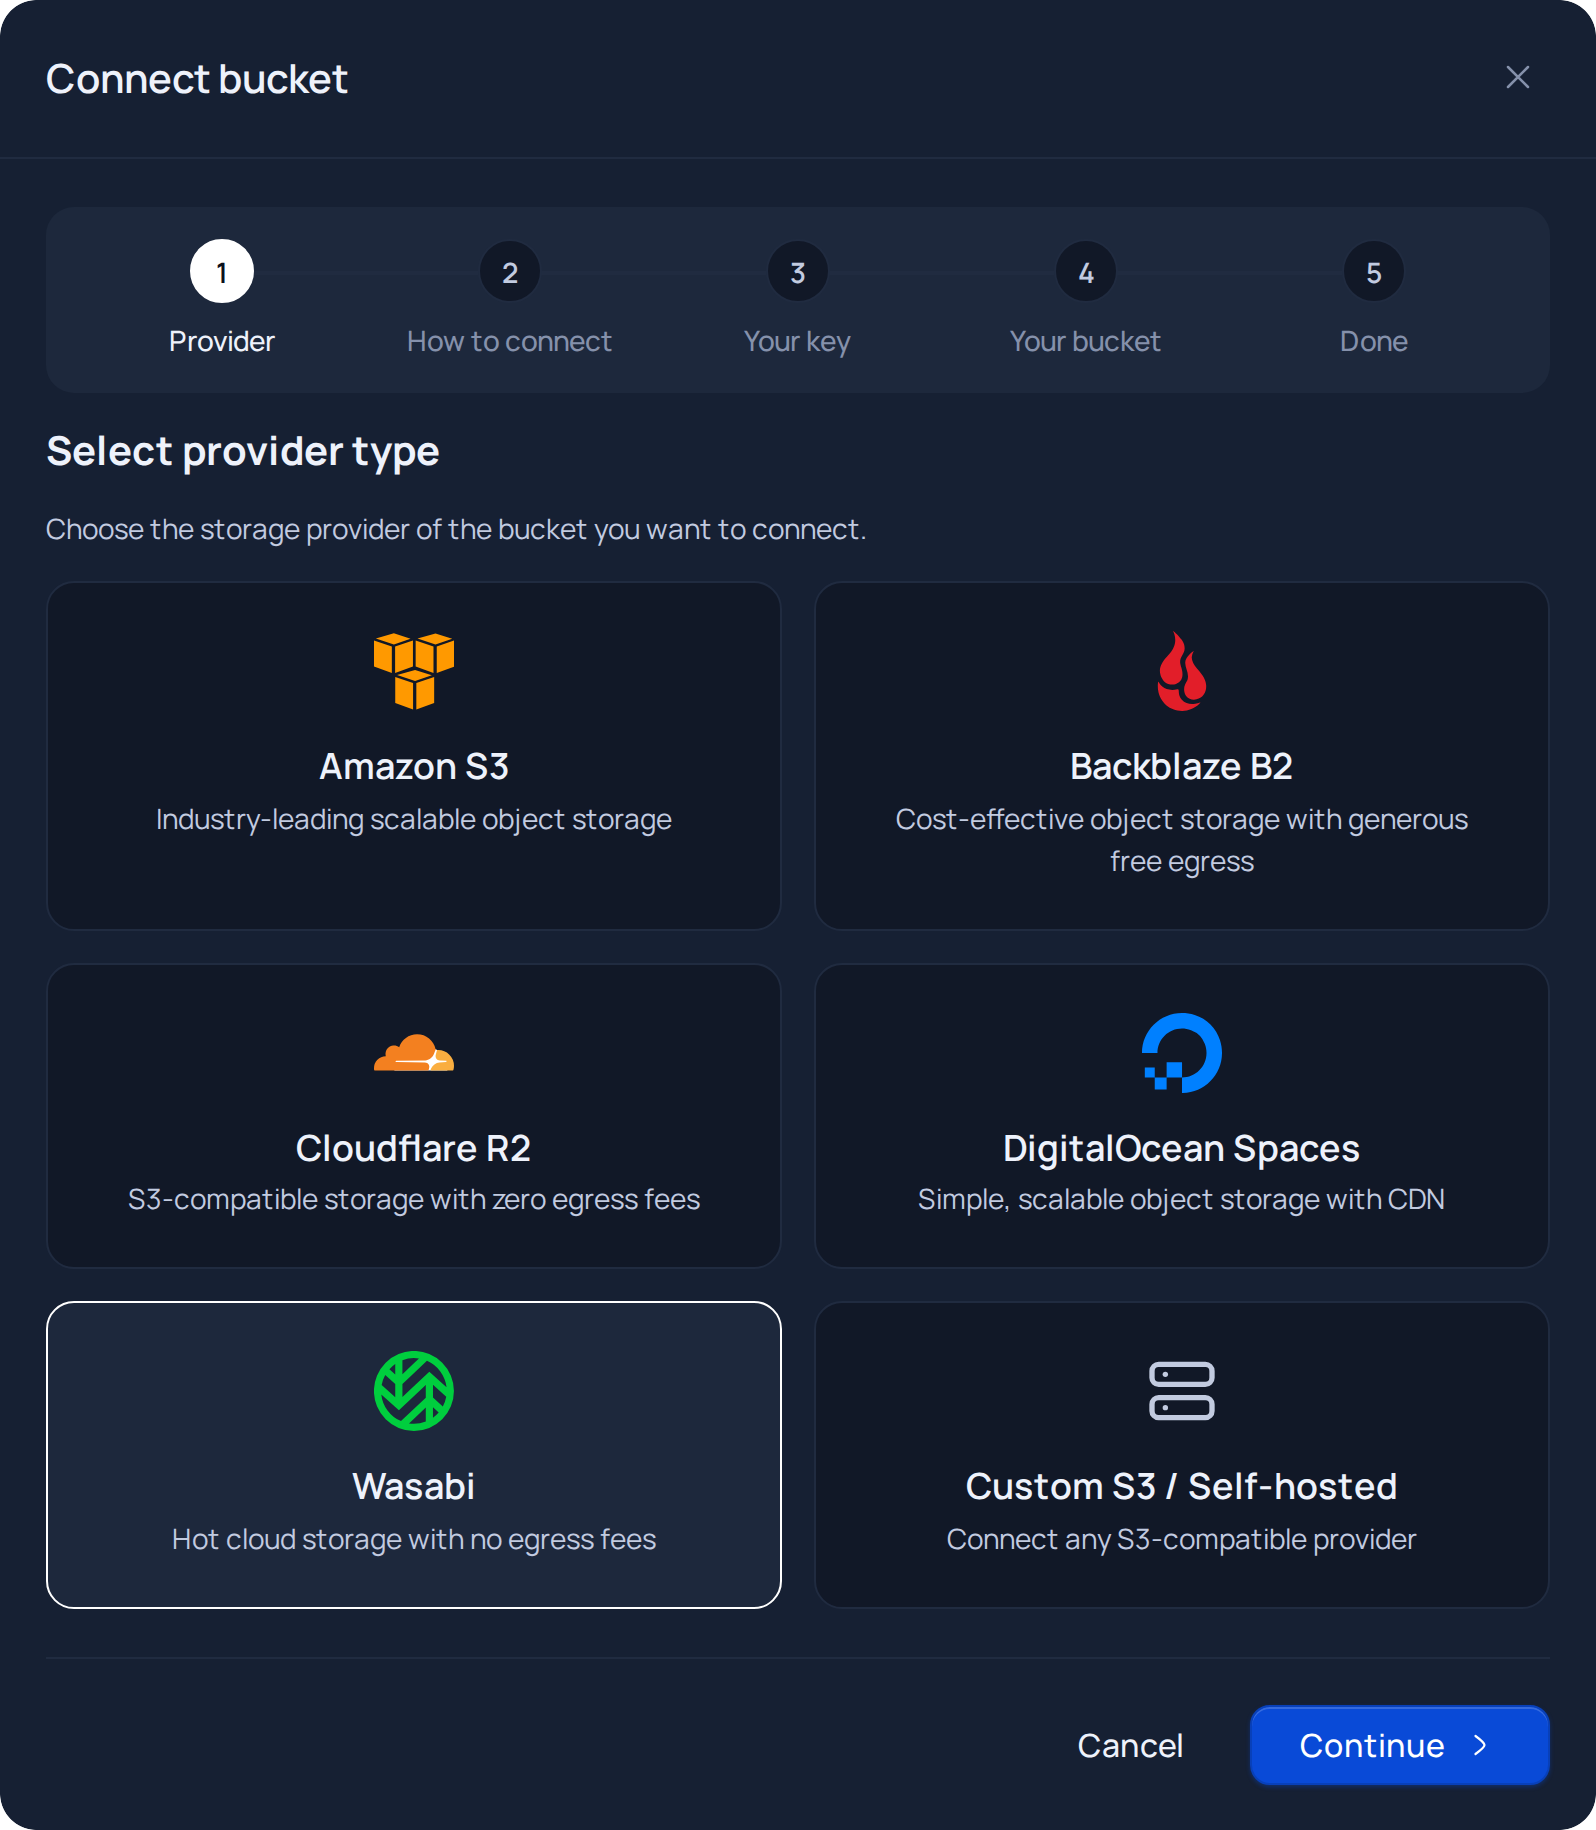
In Nubbo, open Buckets and press Connect bucket. Choose Wasabi and press Continue.
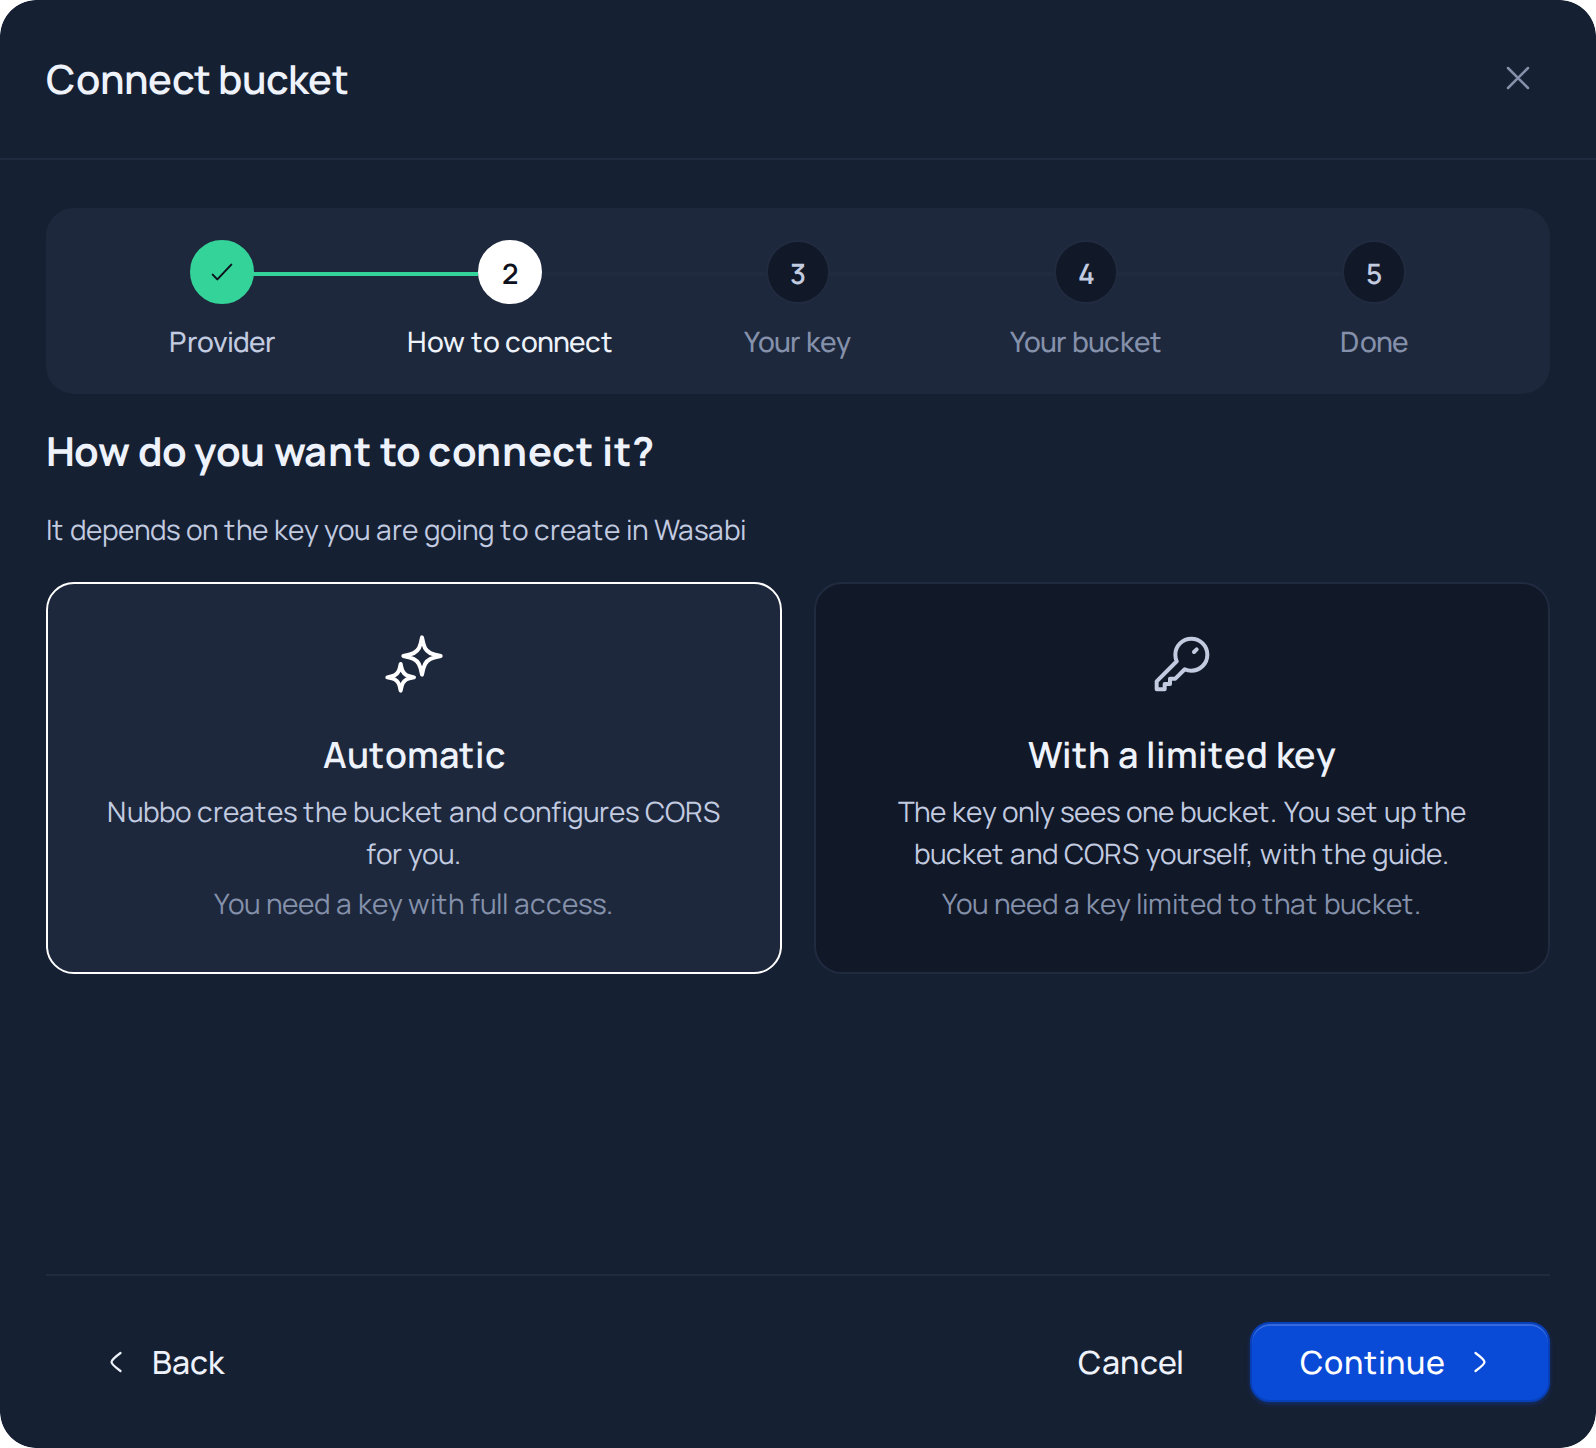
Choose Automatic and press Continue.
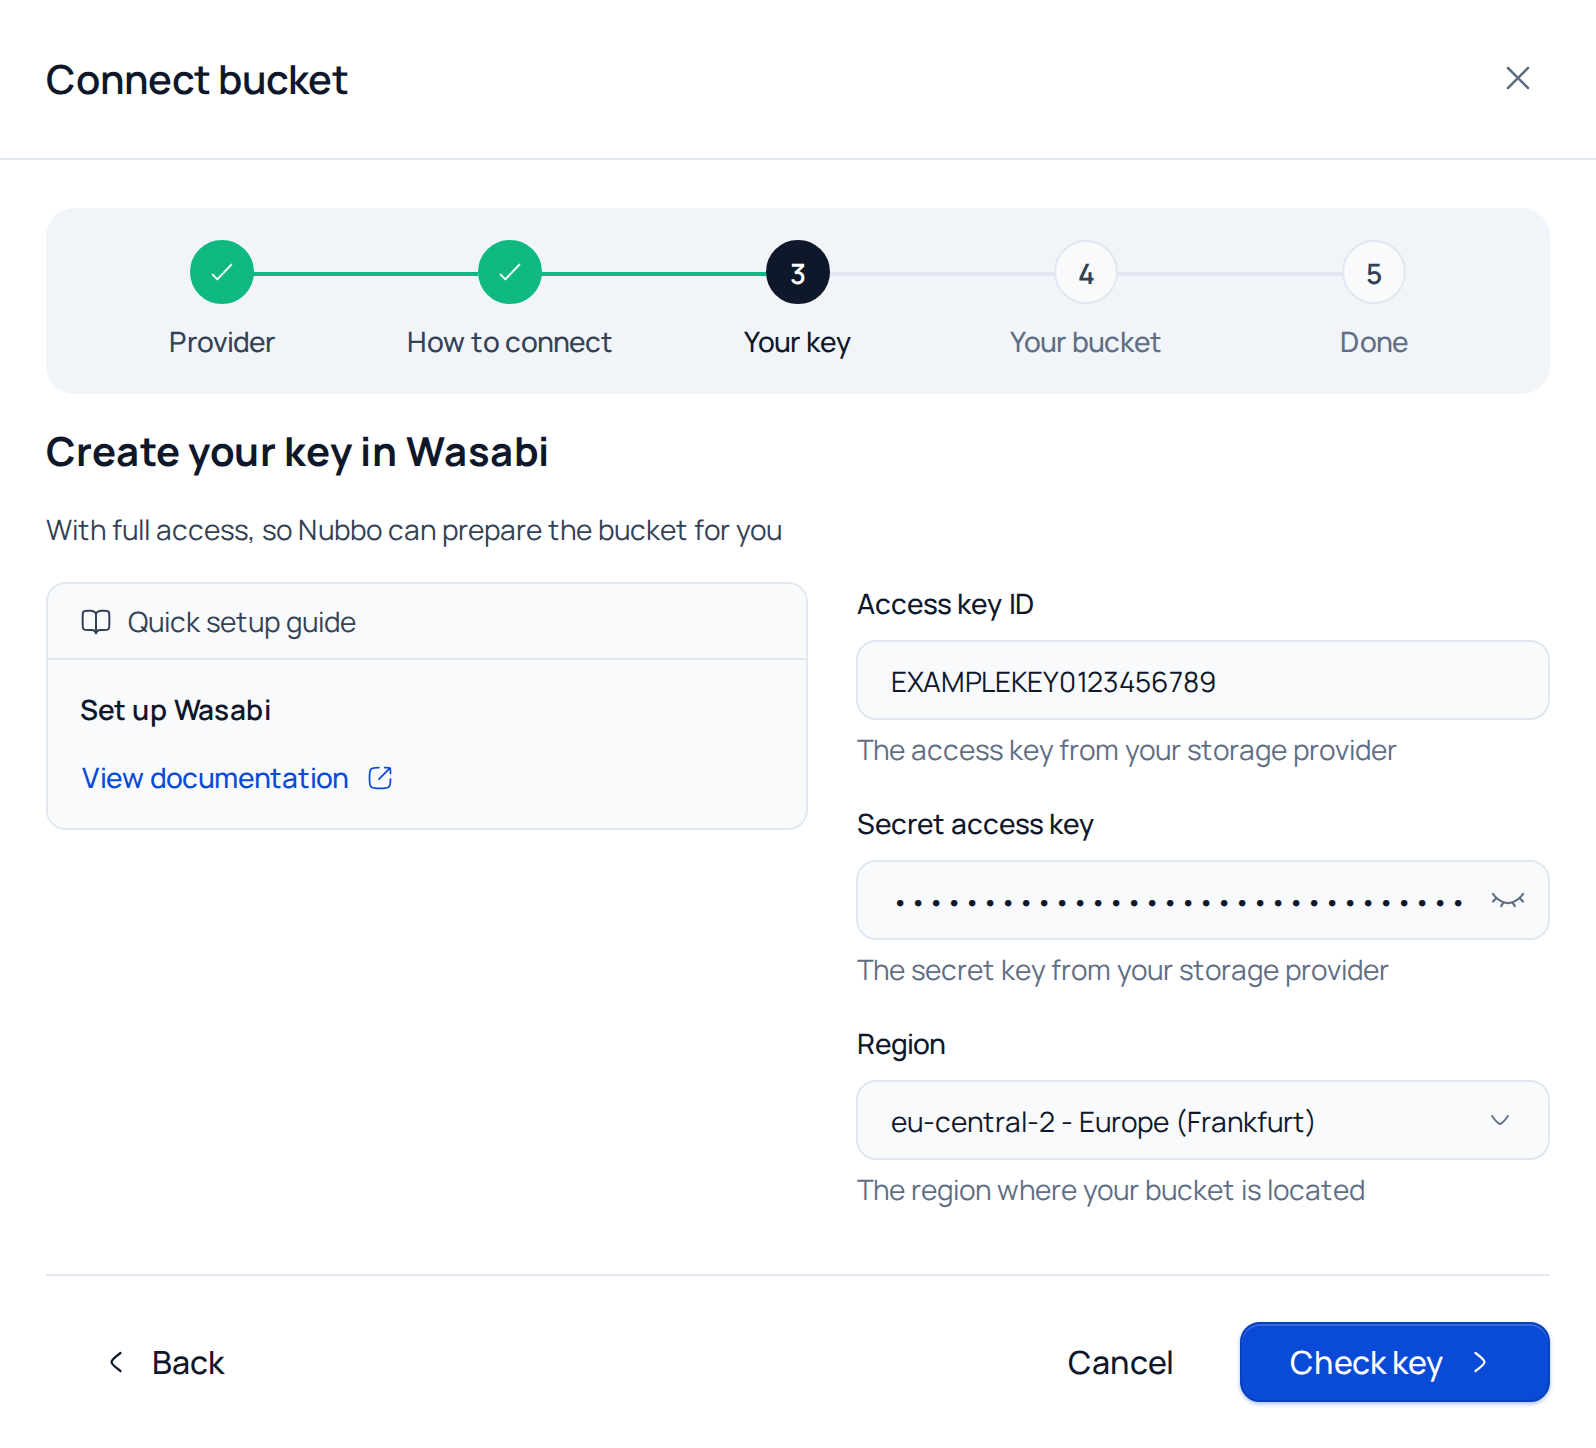
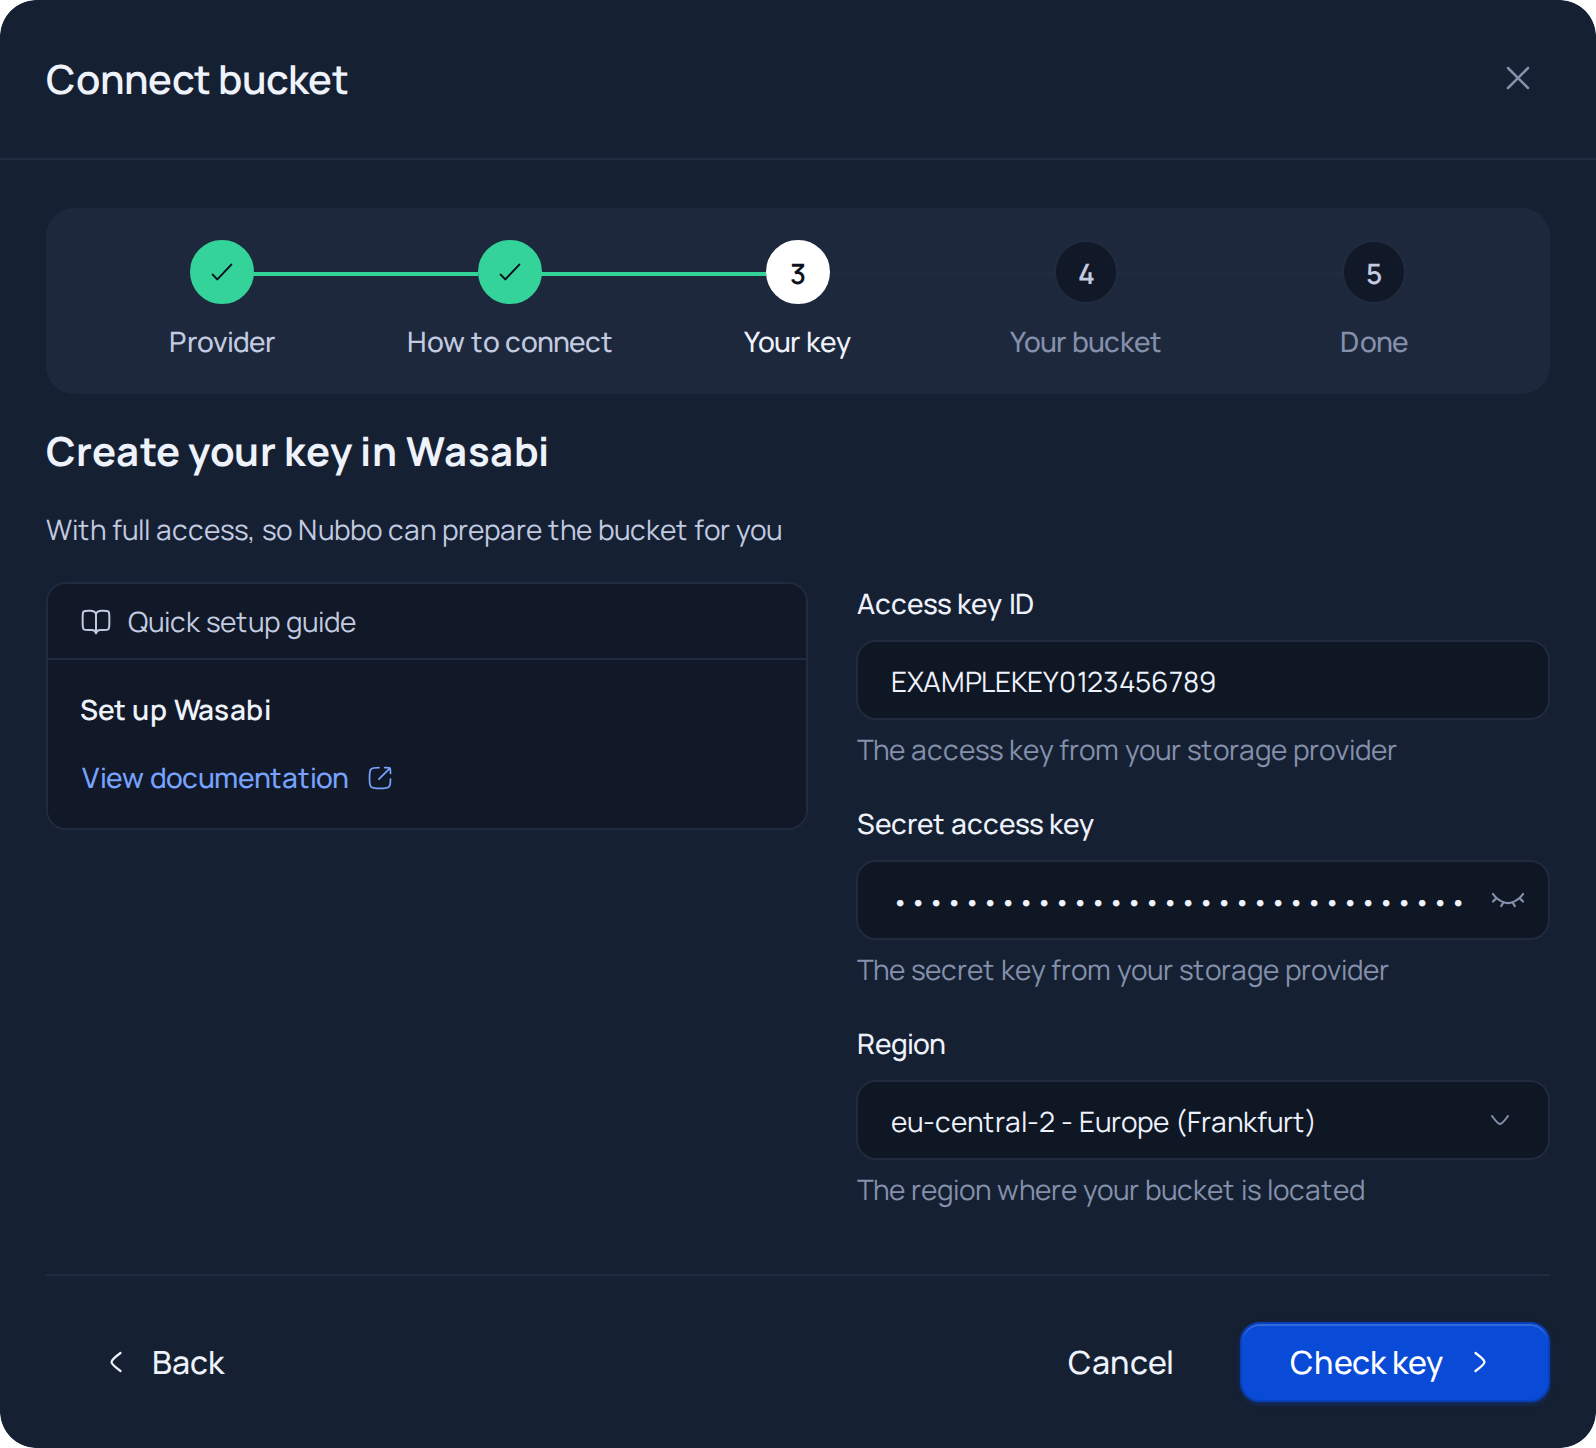
In the Your key step, paste the access key and the secret key and choose the region of your buckets. Press Check key. Nubbo checks that the key works and that it has access to the whole account.
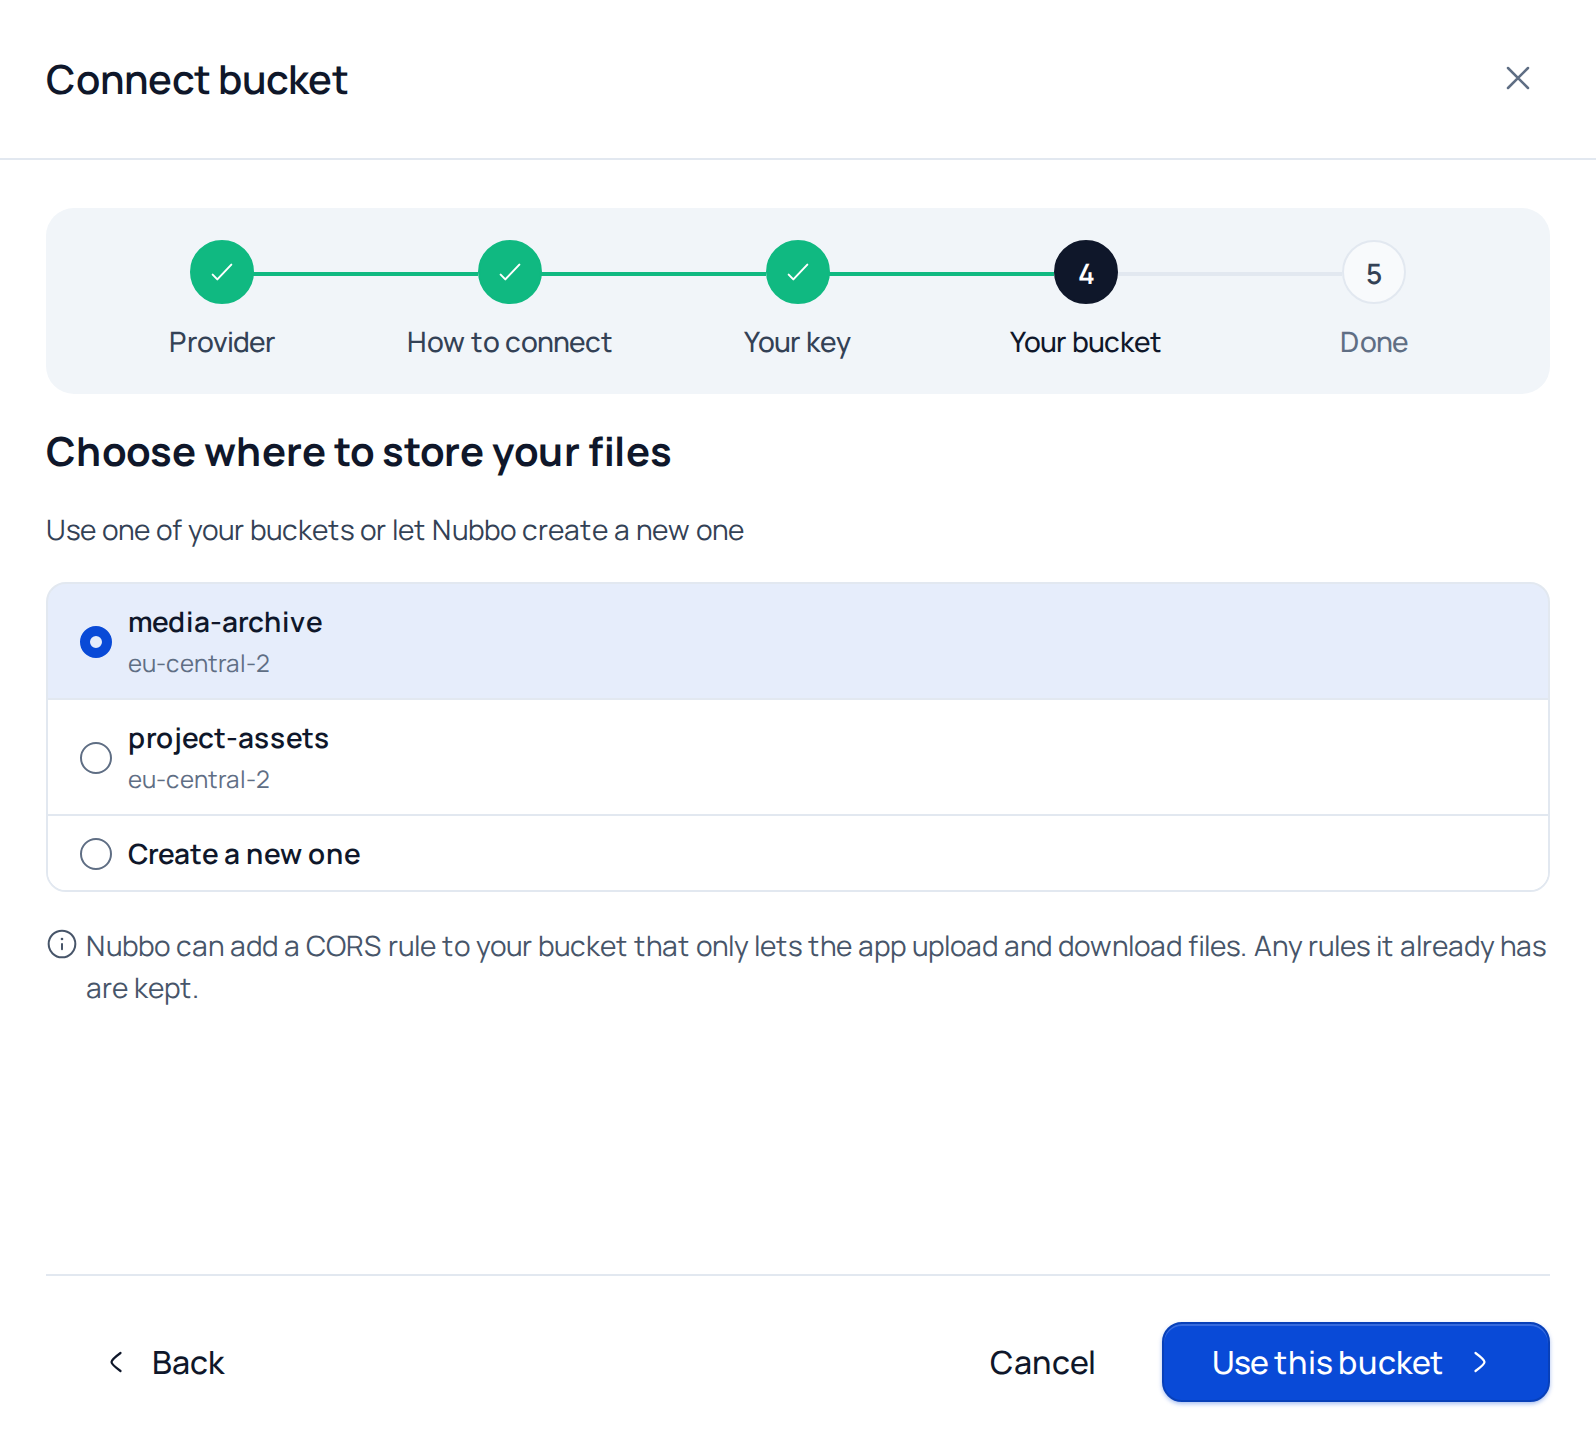
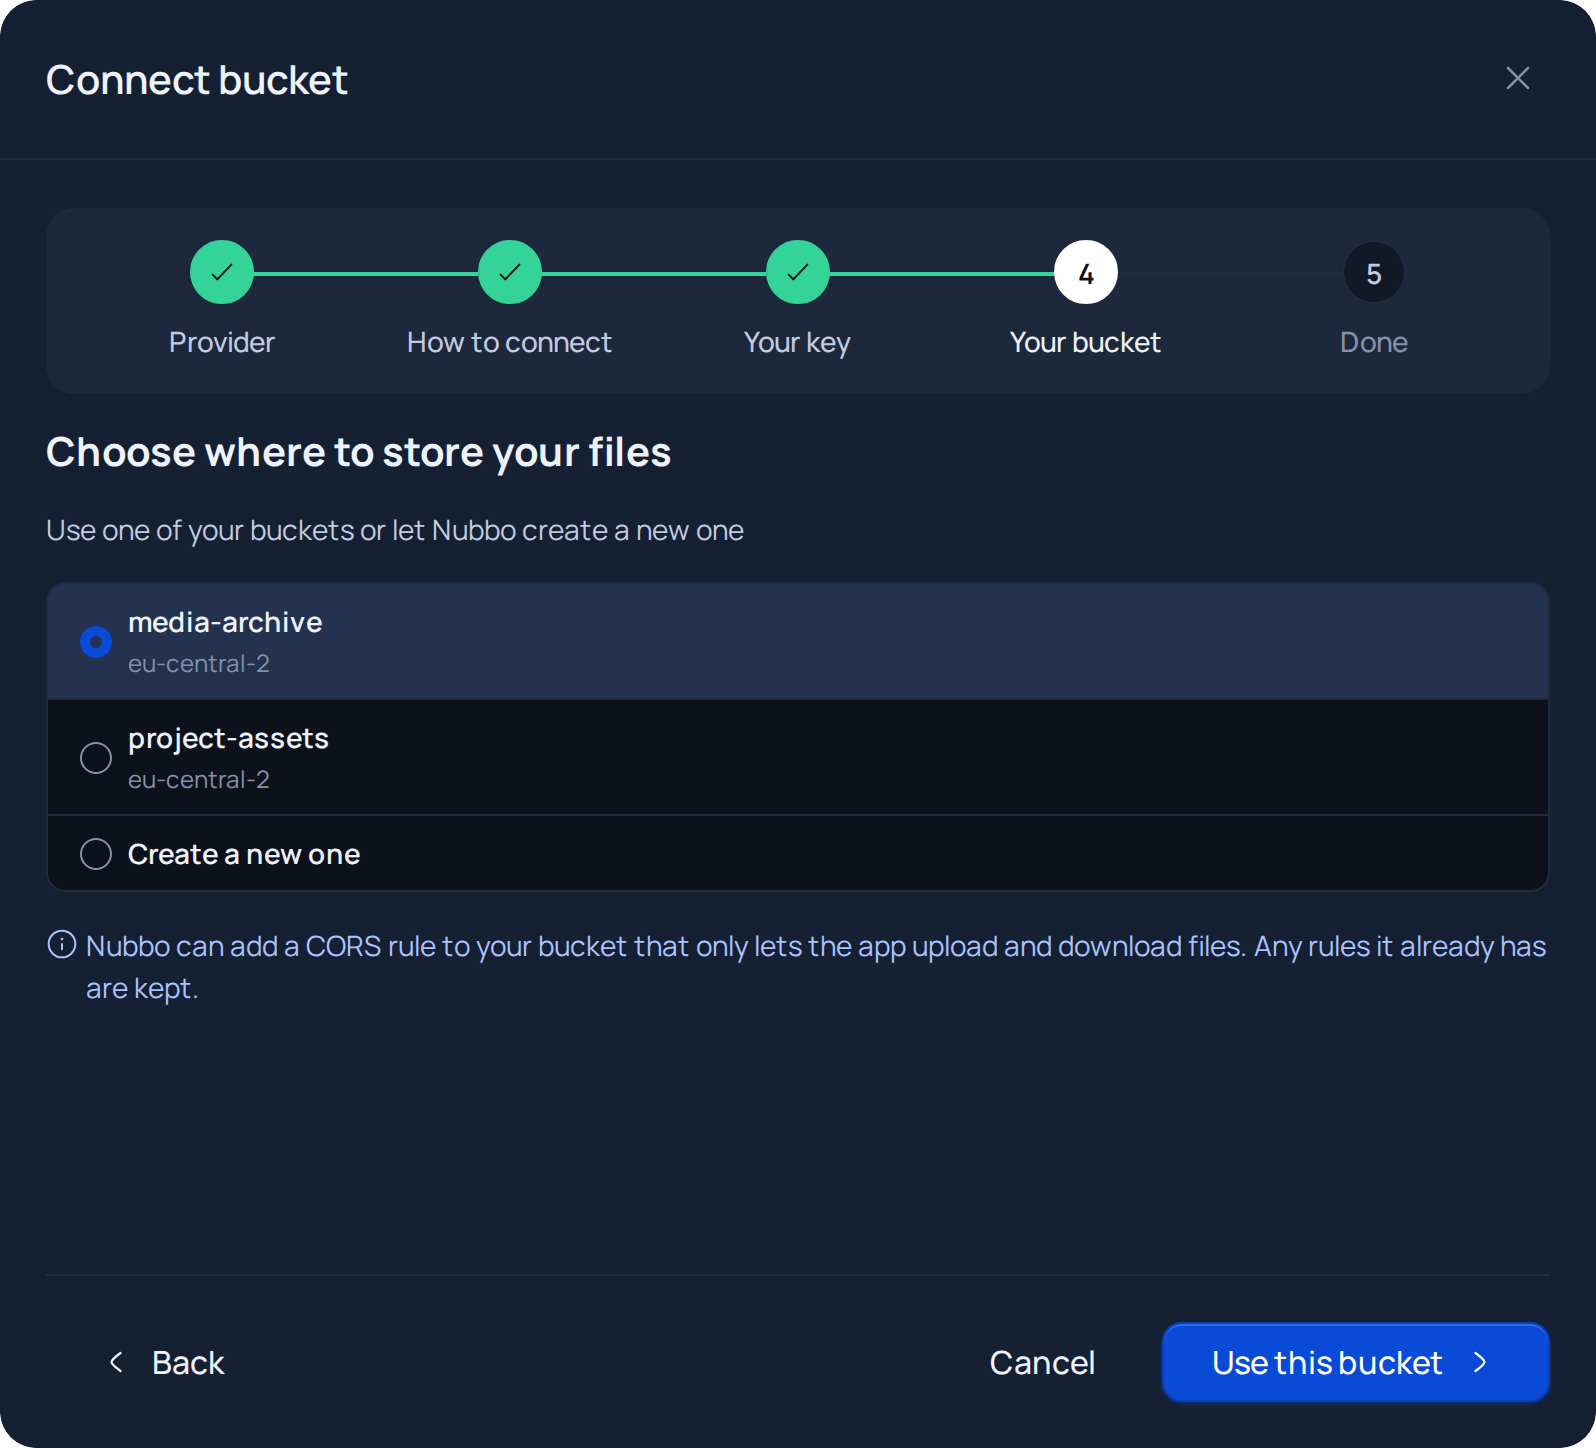
Pick one of your buckets and press Use this bucket, or select Create a new one, type a name, pick the region and press Create and prepare. Wasabi does not let CORS be changed through the API, so Nubbo checks that the Wasabi default CORS already allows uploads from the app.
Review the three checks, change the Name in Nubbo if you like and press Finish. The bucket shows up in Buckets and you can open it in the explorer.
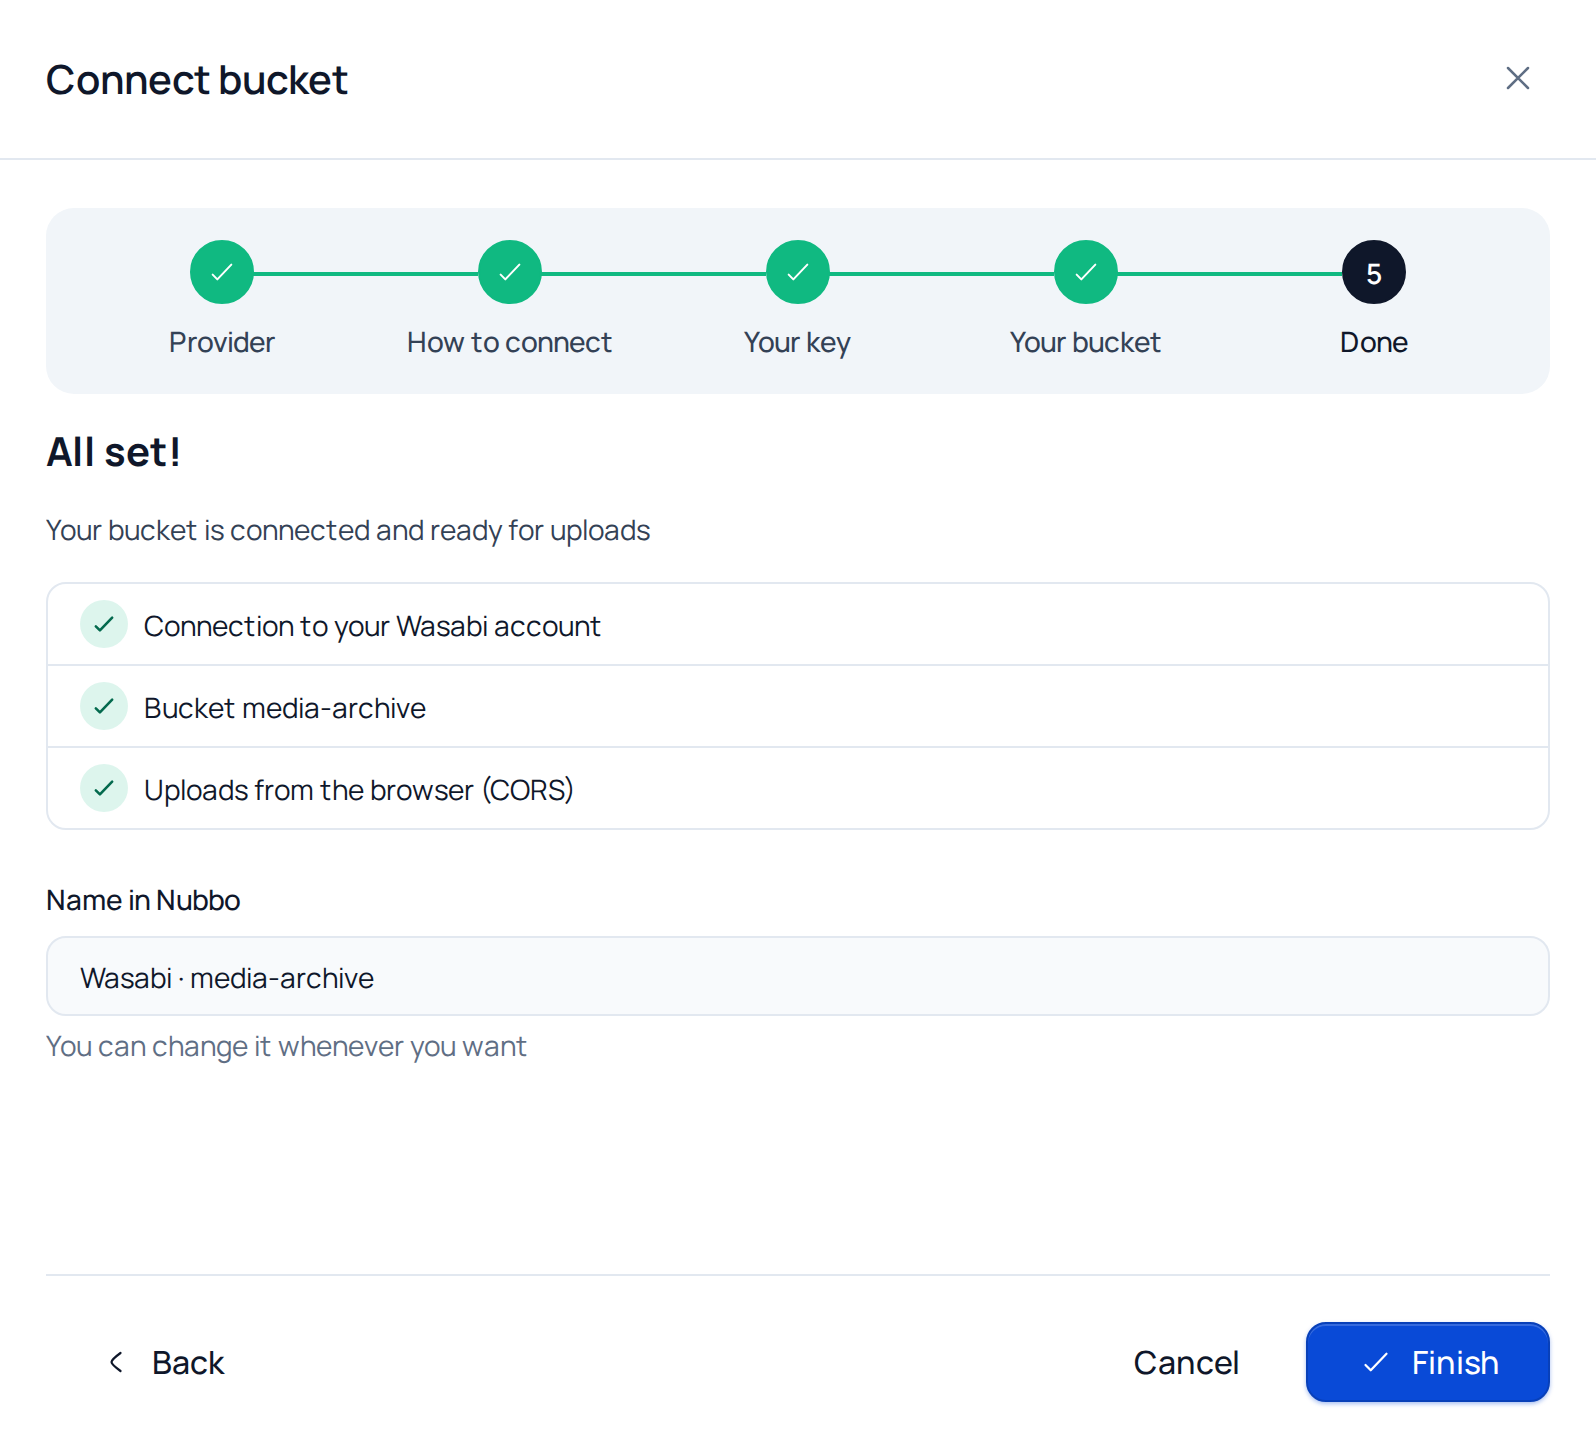
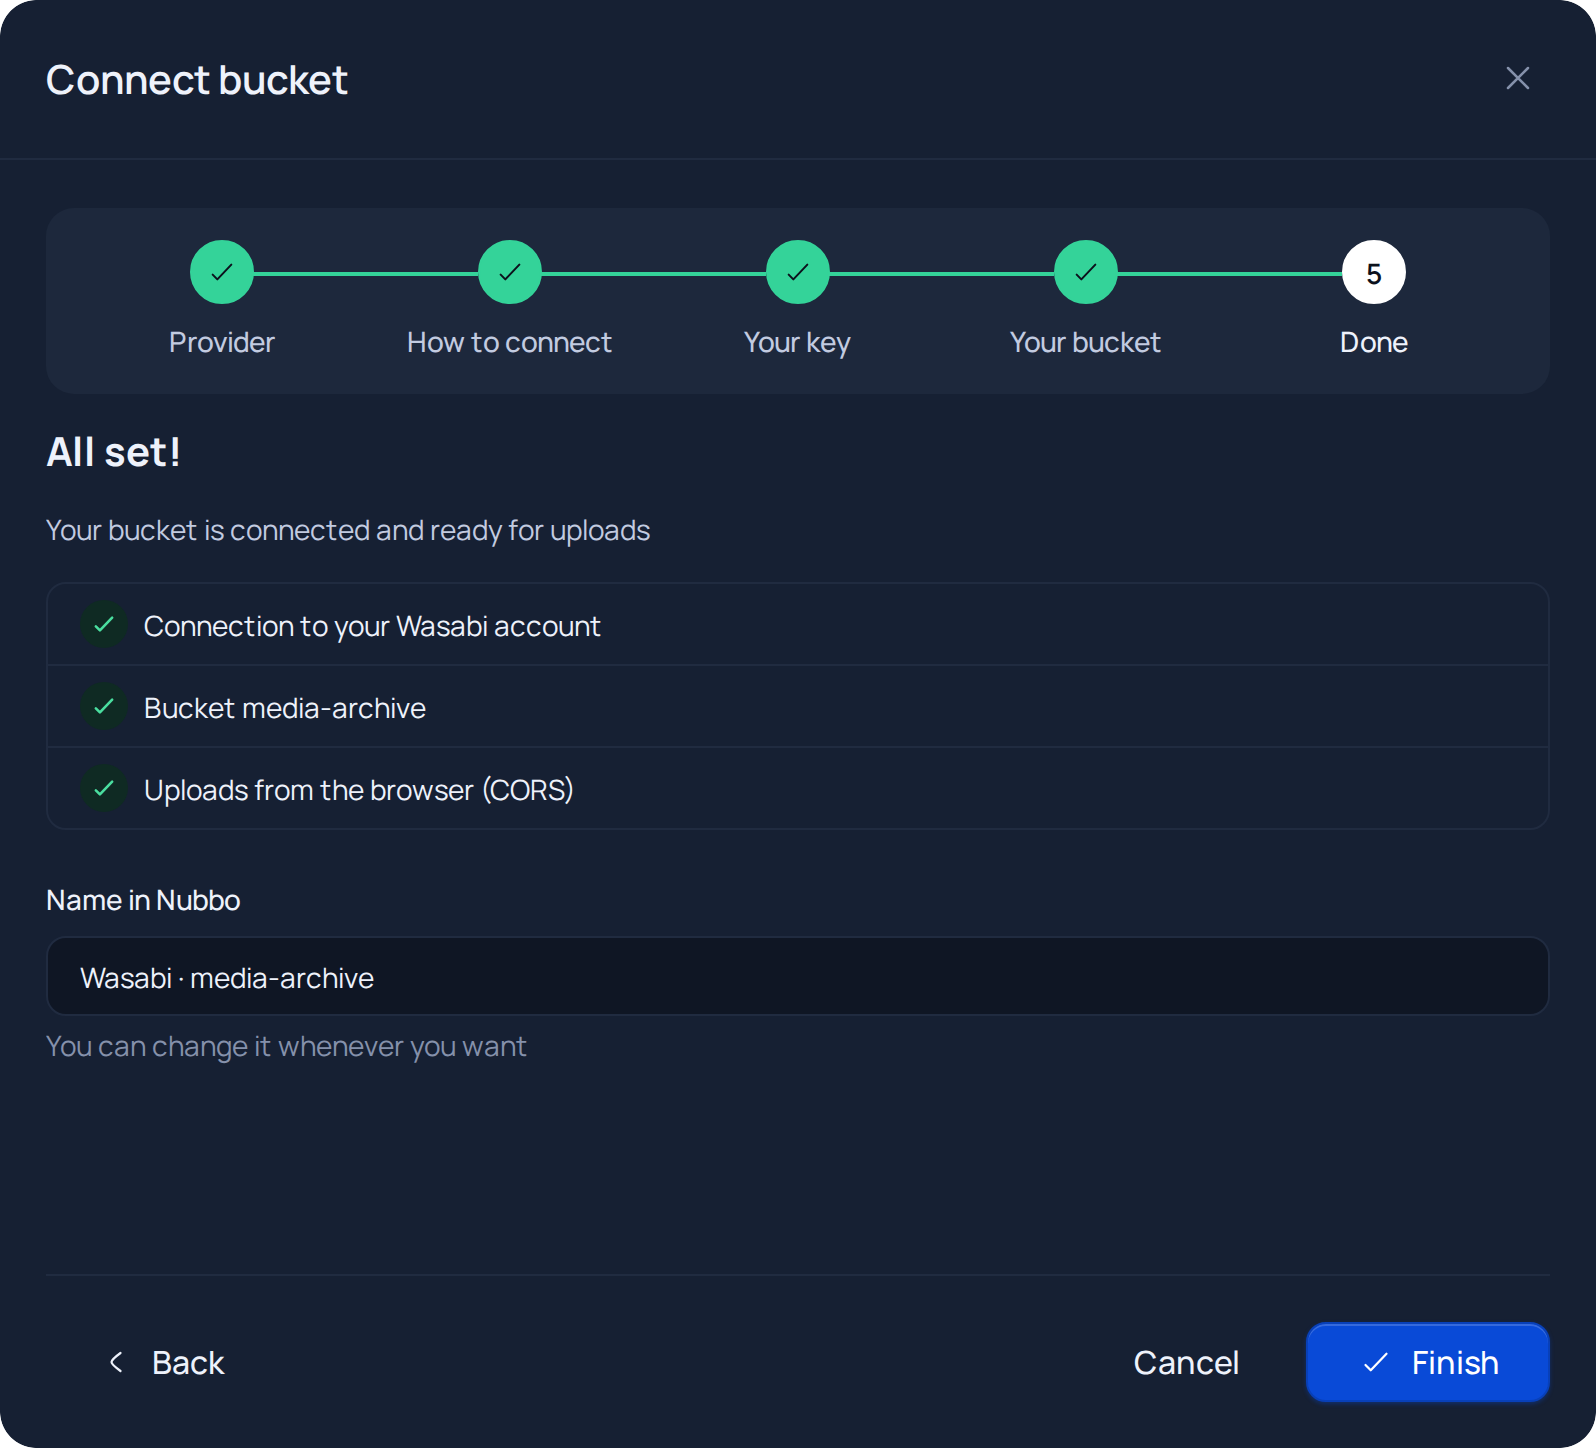
If Nubbo cannot add the CORS rule with your key, the wizard takes you to the CORS step. Then follow Add the CORS rule.
Connection with a limited key
Step 1: prepare the bucket and the key in Wasabi
- In Buckets, press Create Bucket, type a name, choose the region and create it.
- In Policies, press Create Policy and create a policy with access to that bucket only. The Wasabi policy generator helps you write it.
- In Users, press Create User, tick Programmatic access and attach that policy.
- In Access Keys, press Create Access Key, choose Sub-User and that user, and copy the access key and the secret key.
Step 2: connect the bucket in Nubbo
- In Buckets, press Connect bucket, choose Wasabi and then With a limited key.
- Paste the access key and the secret key and choose the region. Press Check key.
- Type the exact bucket name and press Check access.
- The wizard moves to the CORS step with the rule you need to add.
Add the CORS rule
The CORS rule lets the browser upload and download files from your bucket on https://nubbo.app. It is the same rule the wizard shows in the CORS step.
Wasabi does not let CORS be changed through the API, but as long as the bucket has no rules of its own it answers any origin. So on Wasabi you usually do not have to add anything: in the CORS step, press I added it, check right away and the check will pass. On the automatic path, Nubbo runs that check by itself.
Only if you already added CORS rules of your own in the console, add the Nubbo one too, because your rules replace the Wasabi default: open the bucket, Settings, Permissions tab, Cross-Origin Resource Sharing (CORS), press Edit, add this rule to the list and press Save.
[
  {
    "AllowedHeaders": ["*"],
    "AllowedMethods": ["GET", "PUT", "POST", "DELETE", "HEAD"],
    "AllowedOrigins": ["https://nubbo.app"],
    "ExposeHeaders": ["ETag"],
    "MaxAgeSeconds": 3600
  }
]
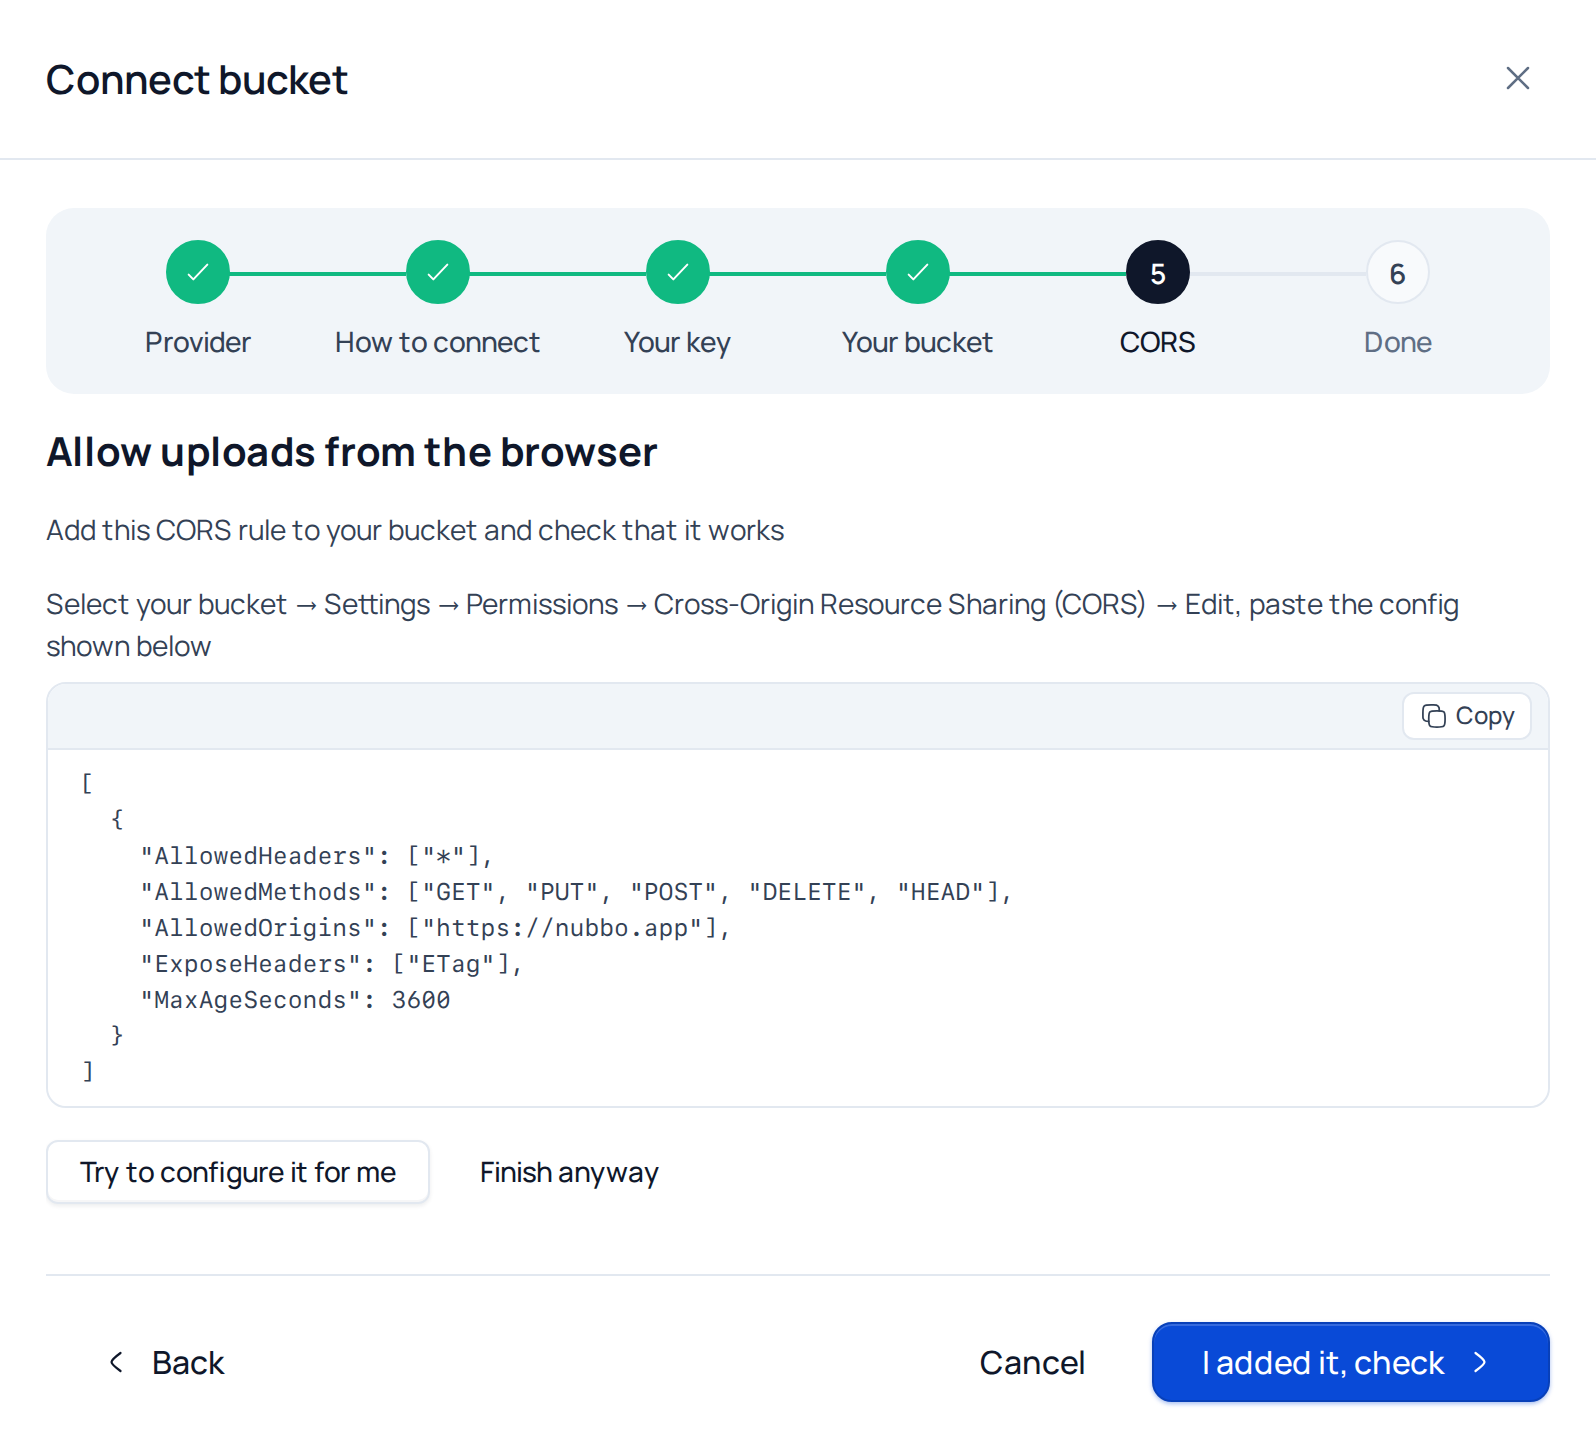
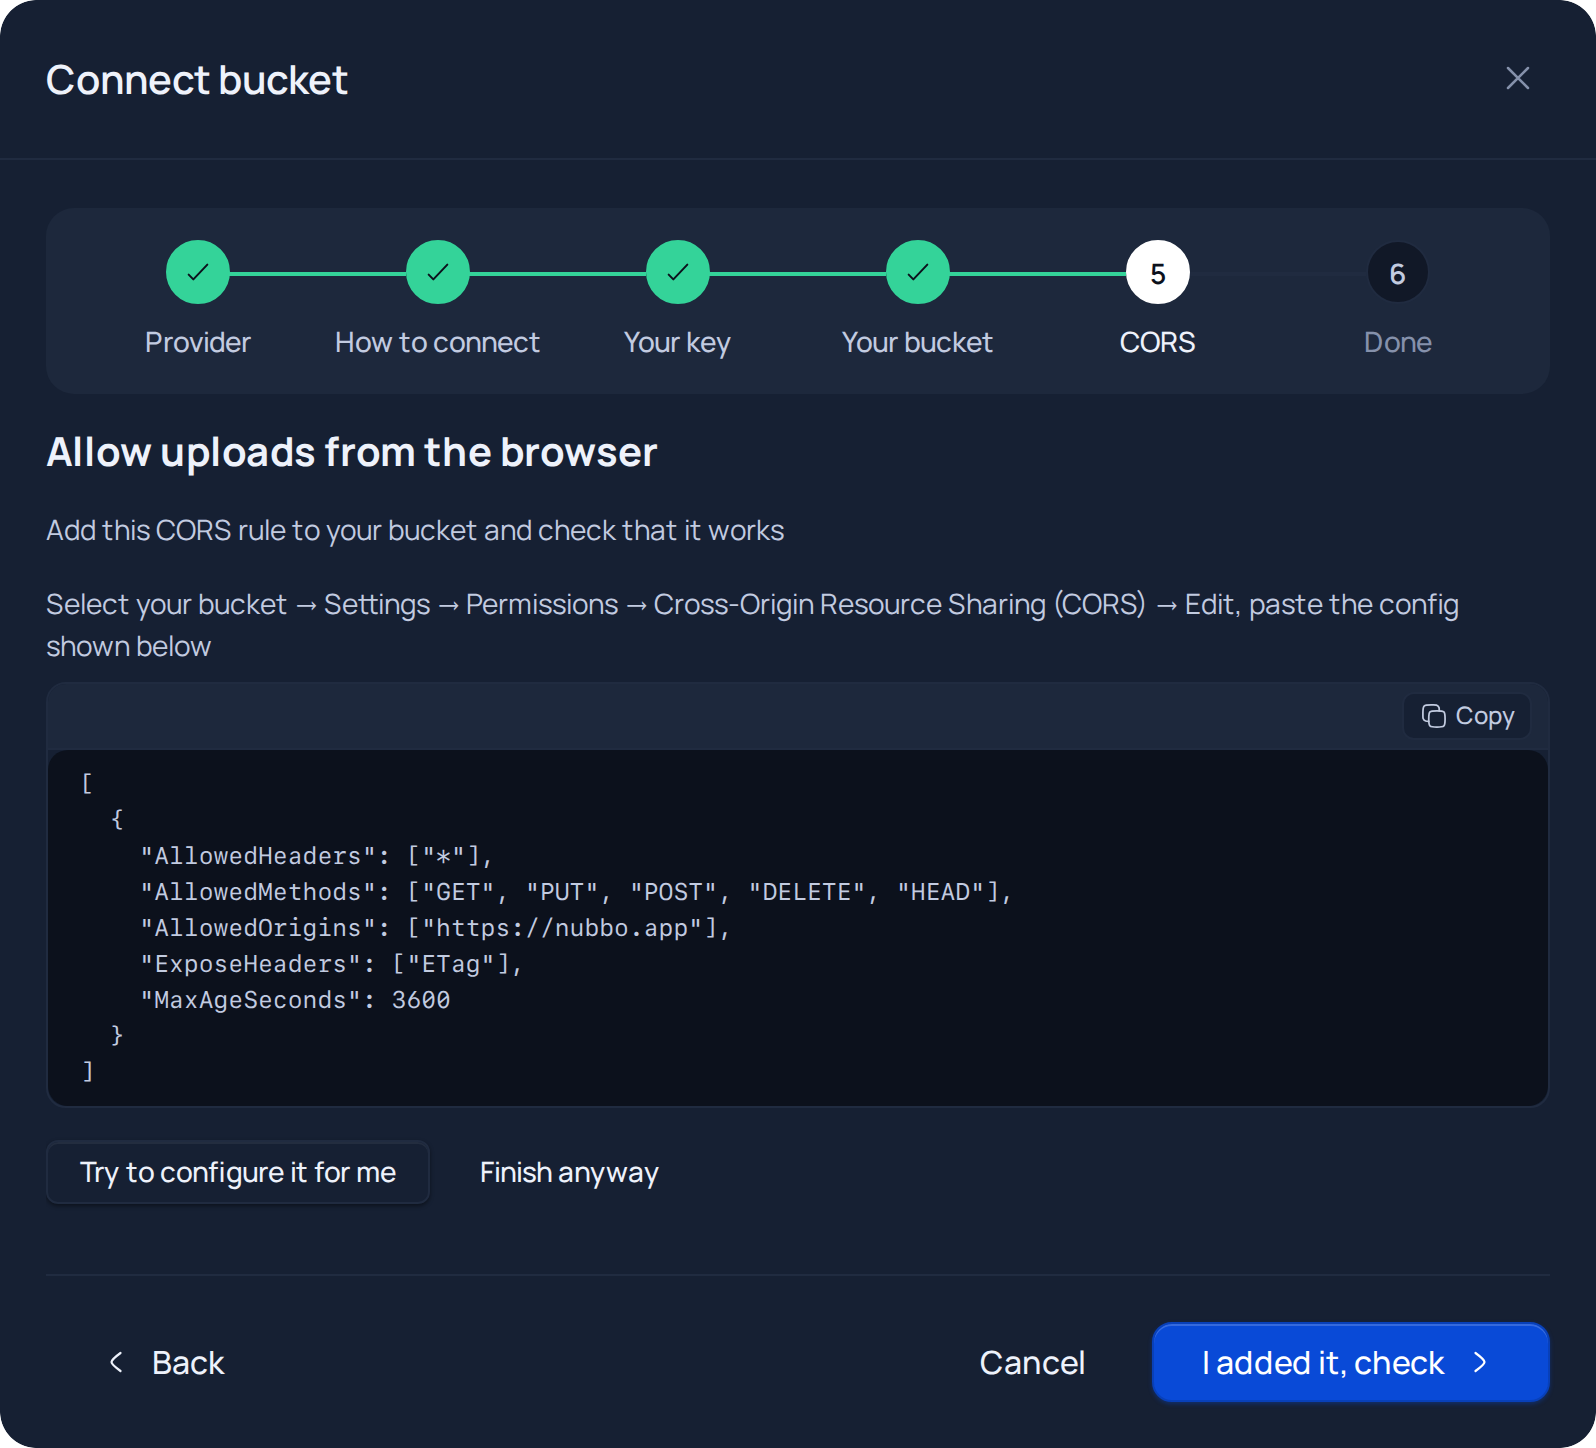
If you added the rule, go back to Nubbo and press I added it, check.
If something goes wrong
| Message in Nubbo | What to do |
|---|---|
| “Invalid credentials. Check the access key and secret access key.” | Copy both keys again, with no spaces at the start or the end. |
| “This key seems limited to one bucket. You can continue with the limited path or create a key with full access.” | Press Continue with a limited key, or create a key with access to the whole account and press Try another key. |
| “Bucket not found. Verify the name and region.” | Check the exact bucket name and that the chosen region is the bucket’s. |
| “Your key is not allowed to create buckets.” | Use a key with full access, or create the bucket in your panel and press I created it in my panel. |
| “That name is already in use on this provider; try another one.” | Bucket names are unique across the provider: pick another one. |
| “Your key is not allowed to set it up.” | Add the CORS rule by hand, as explained above. |
| “It does not work yet. Review the rule and check again; some providers take a minute to apply it.” | Check that the origin is exactly https://nubbo.app with no trailing slash, wait a minute and check again. |
| “This bucket is already in use.” | That bucket is already connected in Nubbo, in your account or in another one. |
| “The bucket is in a different region. Verify the configured region.” | Choose in Nubbo the region where you created the bucket. |
What it costs
Wasabi charges a flat price per TB with no egress fees, with a minimum charge and a 90 day minimum duration. We explain it in Wasabi pricing.
Frequently asked questions
Do I need to set up CORS on Wasabi?
Usually not. Wasabi answers any origin as long as the bucket has no CORS rules of its own, and Nubbo checks it by itself. If you already have your own rules, add the Nubbo one to the list.
Why does Nubbo not change Wasabi CORS for me?
Because Wasabi does not support the S3 API CORS operations. They can only be edited in the console, under Settings, Permissions.
Which Wasabi key do I need?
For the automatic path, the Root User key or a Sub-User with WasabiFullAccess. With a limited key, a Programmatic user with a policy that only gives access to your bucket.
Which region do I choose in Nubbo?
The bucket's. It shows in the bucket list of the Wasabi console.
Sources
Prices and limits come from the official pages below. Providers change them, so check before you commit.