The Nubbo MCP server lets your AI assistant work with your files from the conversation. In this guide you connect it to Claude, ChatGPT or Cursor and give it its first task.
What you get
- Ask in your own words to find files, create links or inboxes or sort folders.
- Choose, when connecting, the space, the access and the buckets or projects it can use.
- See everything it does in your activity, under the name of the assistant’s key.
Before you start
You need a Nubbo account on the Pro or Teams plan and Claude, ChatGPT or Cursor on a plan that allows custom connectors. In a team, only the owner and admins can connect an assistant.
Step 1: copy the server address
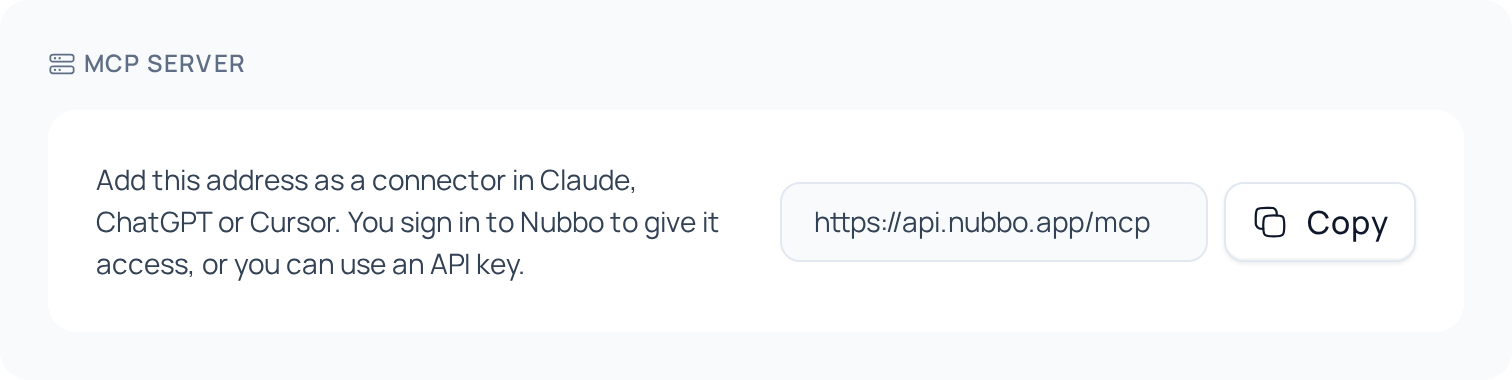
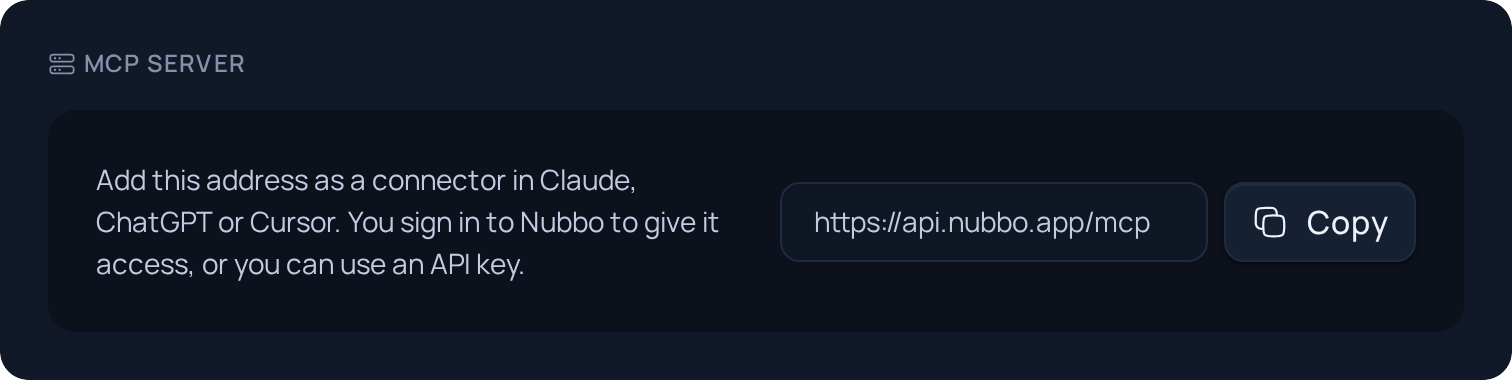
In Nubbo, open Settings › API (or Team › API in a team) and copy the address on the MCP server card: https://api.nubbo.app/mcp.
Step 2: add the connector
Each assistant may show its menus in your language.
Claude. Open Customize › Connectors, press + and Add custom connector. Type Nubbo as the name, paste the address and follow the steps up to Add. On Claude’s Team and Enterprise plans, the organization owner adds it in Organization settings › Connectors and each person presses Connect.
ChatGPT. Open chatgpt.com/plugins, press + and Add custom MCP server. Type Nubbo as the name, paste the address into Server URL, choose OAuth and create the plugin. Then install it and type @Nubbo in the chat to use it.
Cursor. Cursor connects with an API key. Create one in Settings › API, as in the API guide, and add the server to ~/.cursor/mcp.json:
{
  "mcpServers": {
    "nubbo": {
      "url": "https://api.nubbo.app/mcp",
      "headers": { "Authorization": "Bearer nbk_your_key" }
    }
  }
}
Step 3: sign in to Nubbo
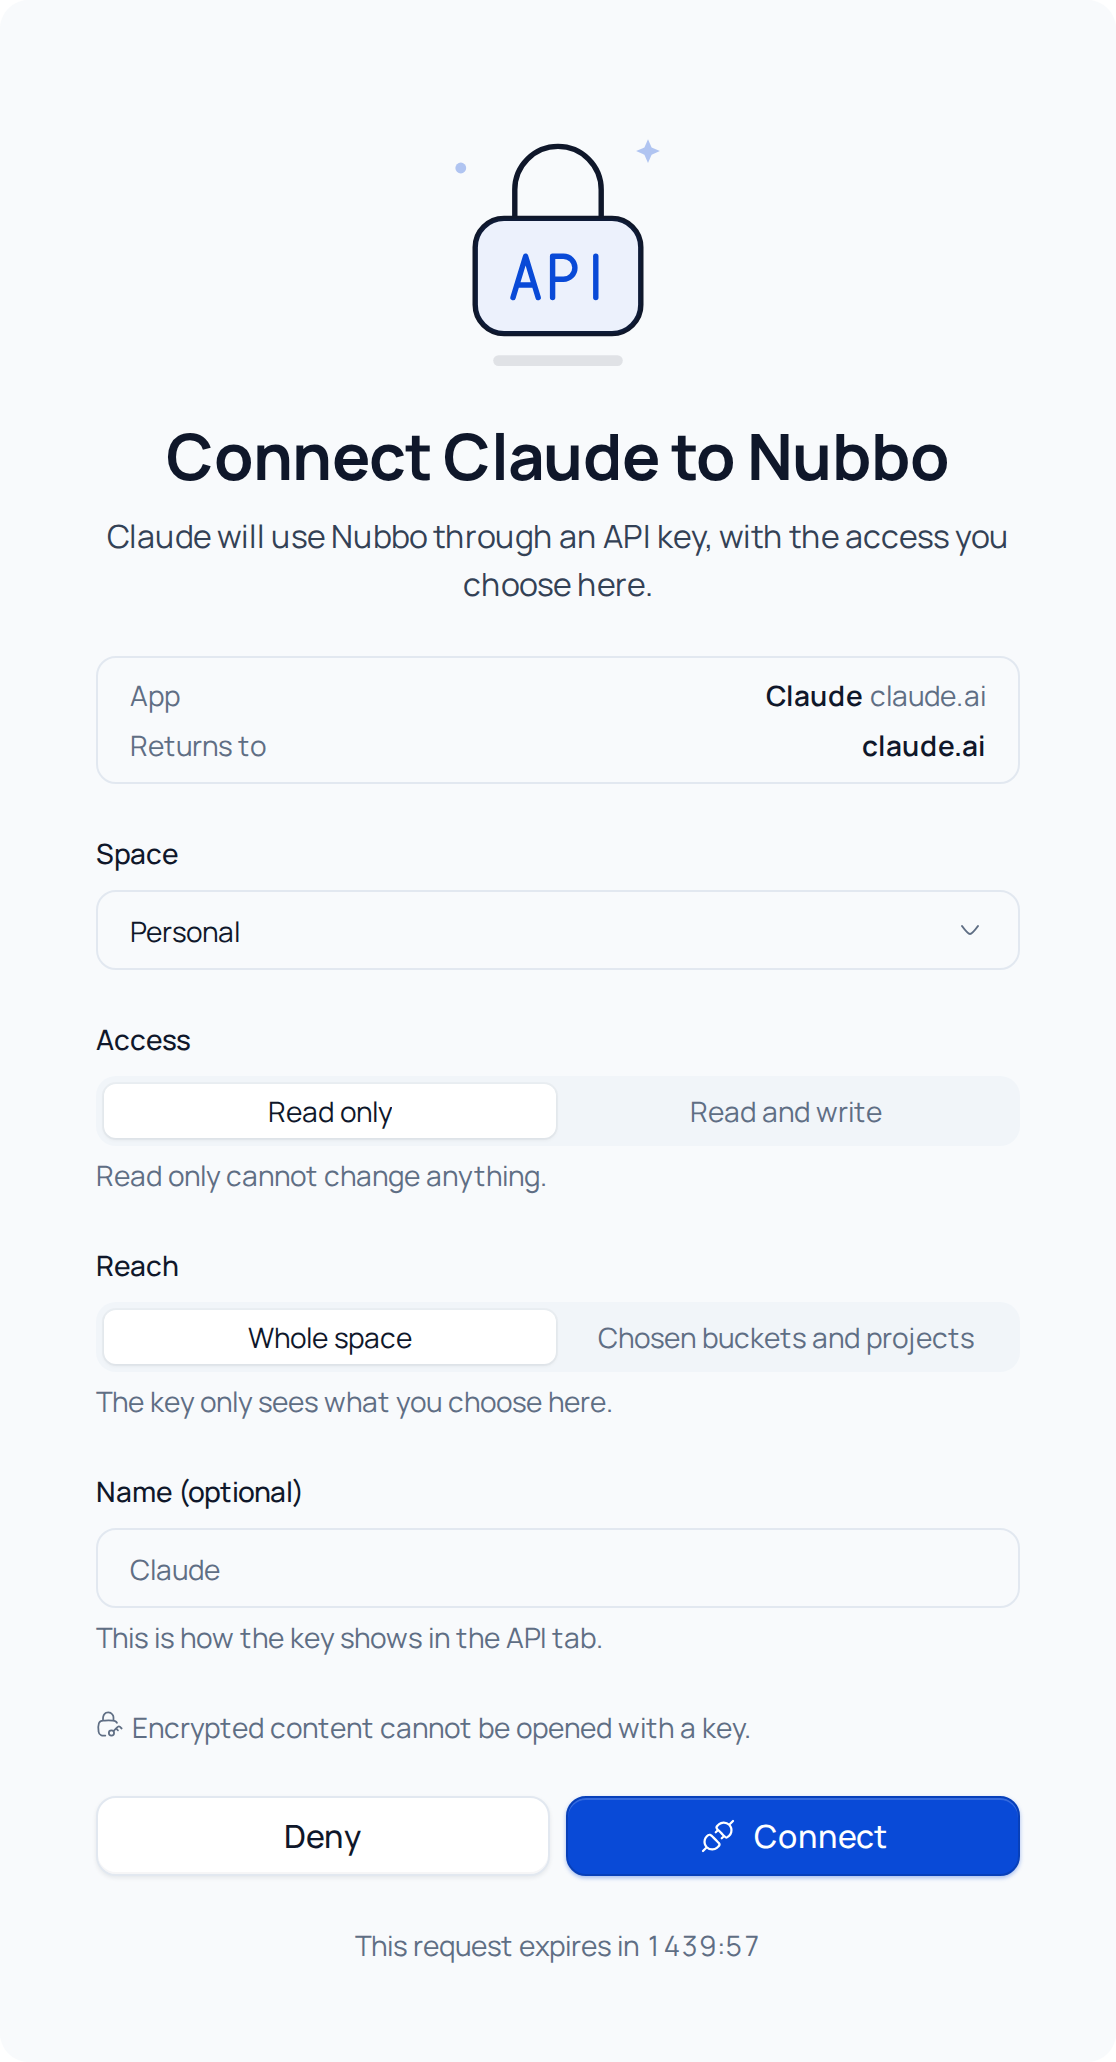
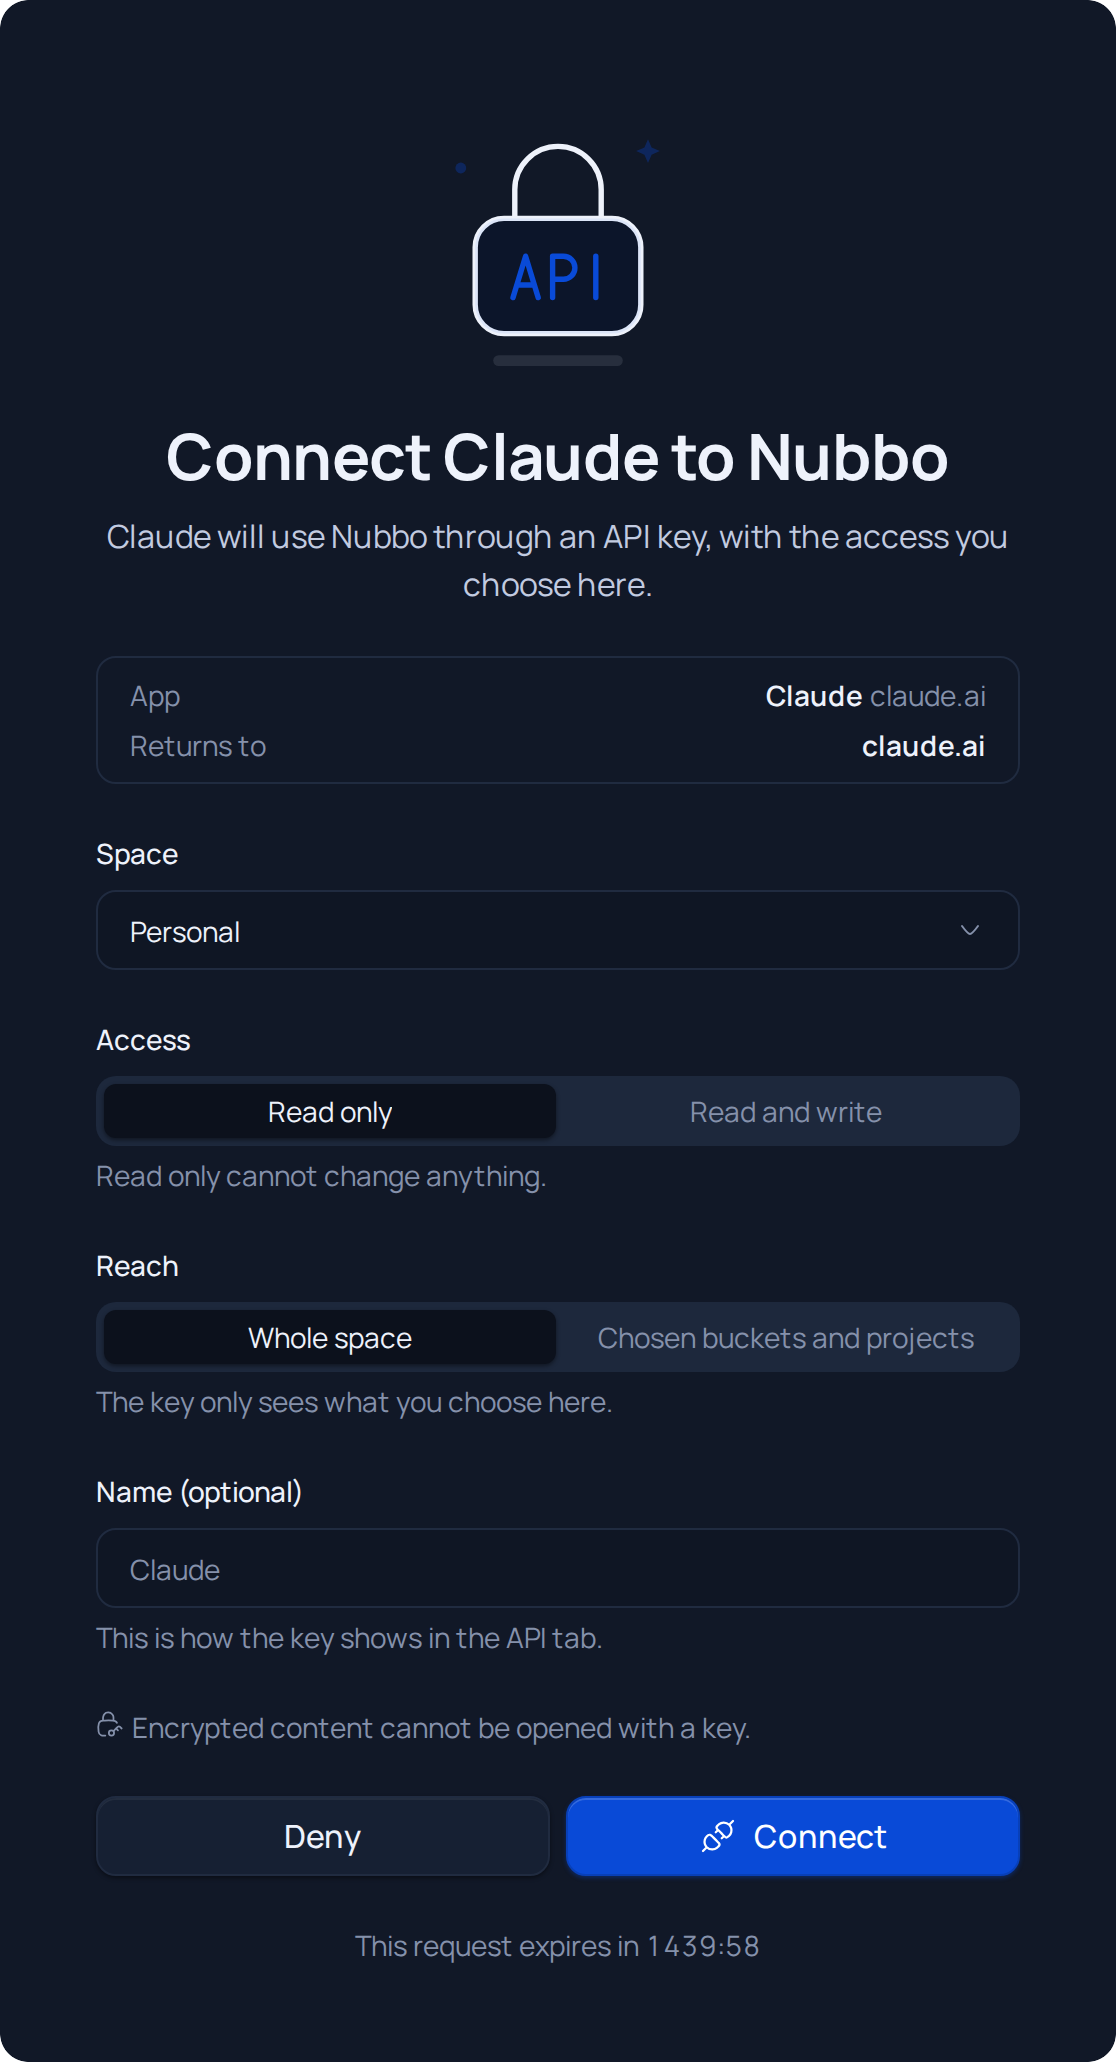
In Claude and ChatGPT, connecting opens Nubbo with Connect Claude to Nubbo (or the name of your assistant).
- Choose the Space: your personal one or one of your teams.
- Choose the Access. It comes set to Read only. Switch it to Read and write if you want it to create or move things.
- Choose the Reach: Whole space or Chosen buckets and projects.
- Press Connect and confirm with your password (and the code, if you use two-step verification). Nubbo takes you back to your assistant.
Step 4: ask it something
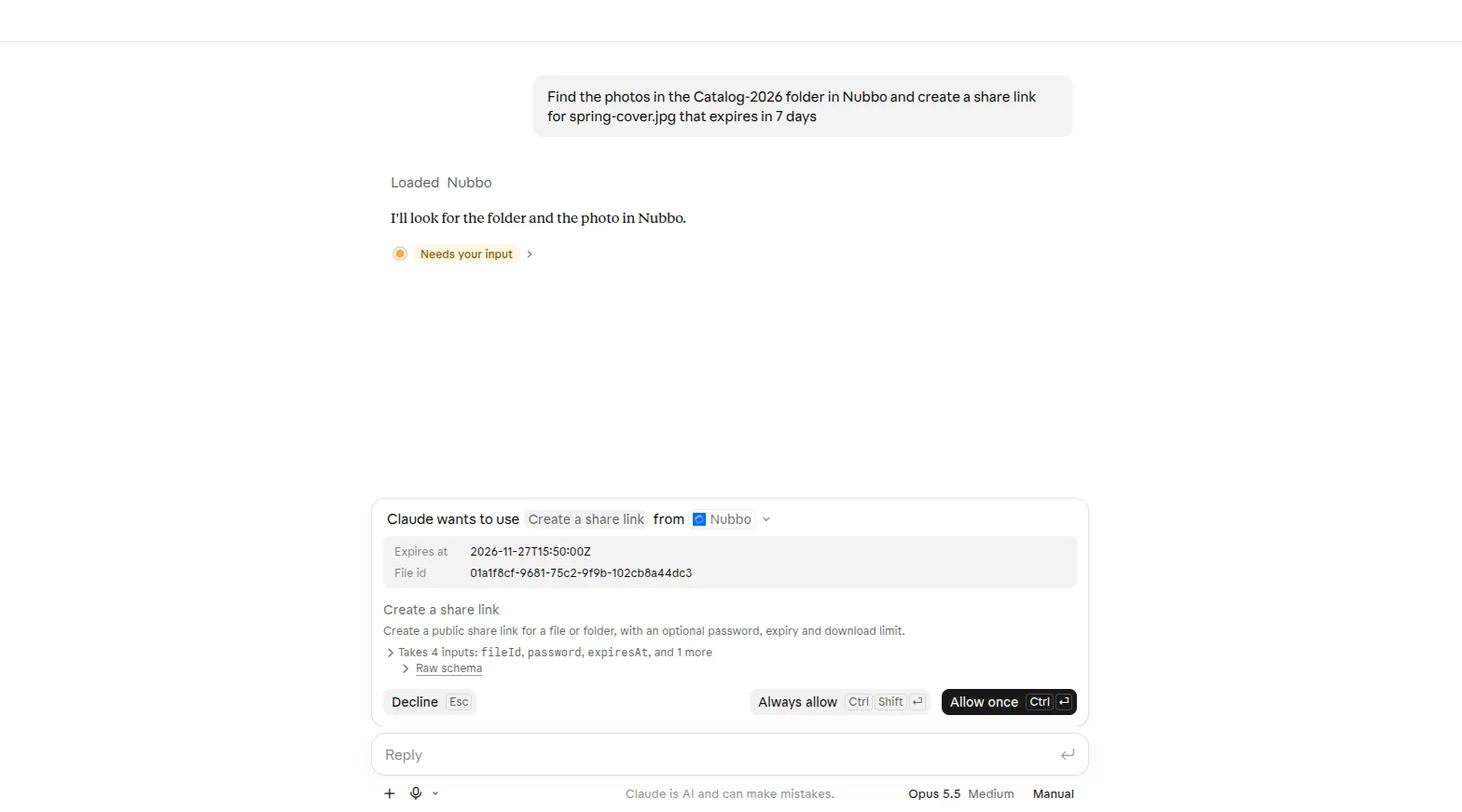
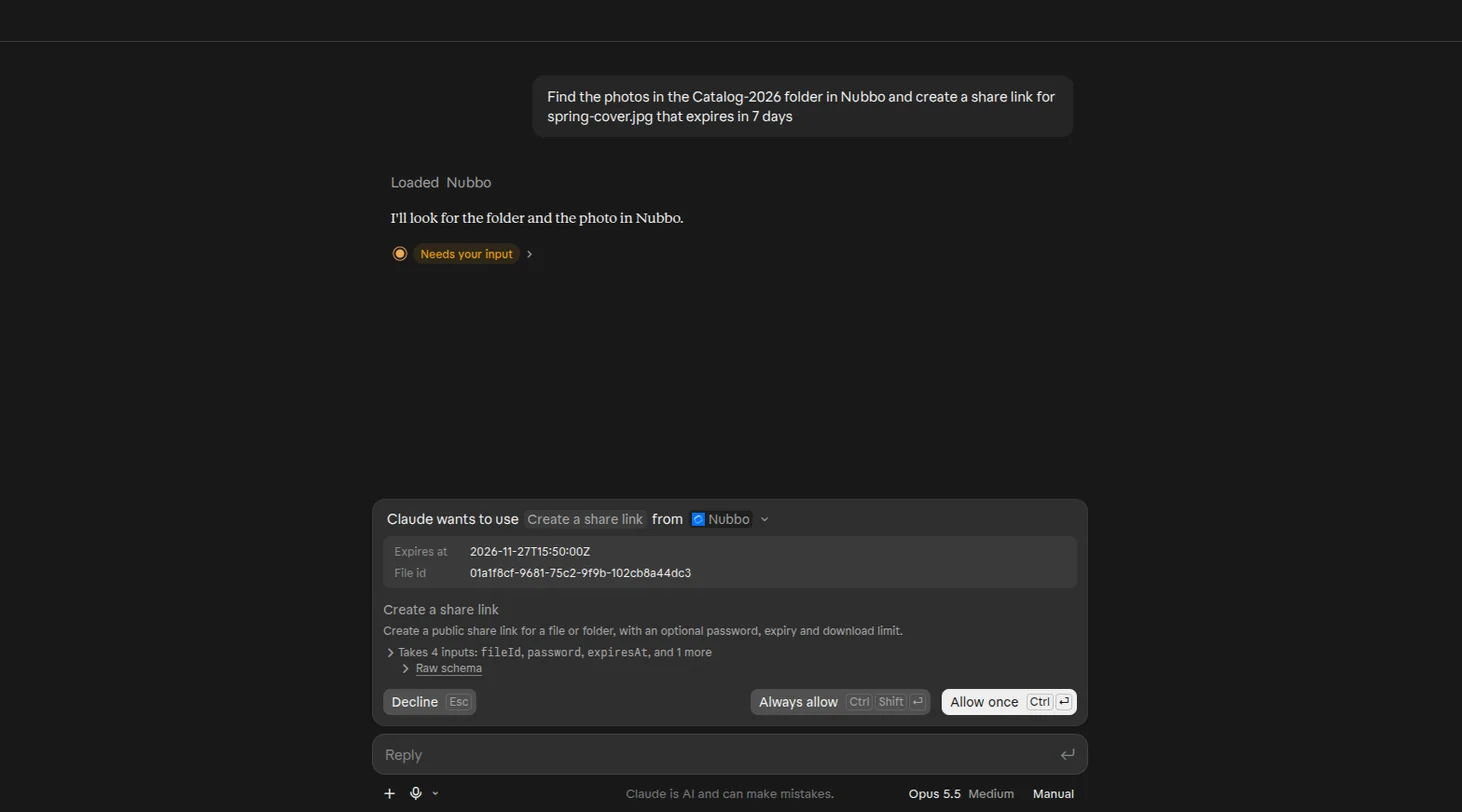
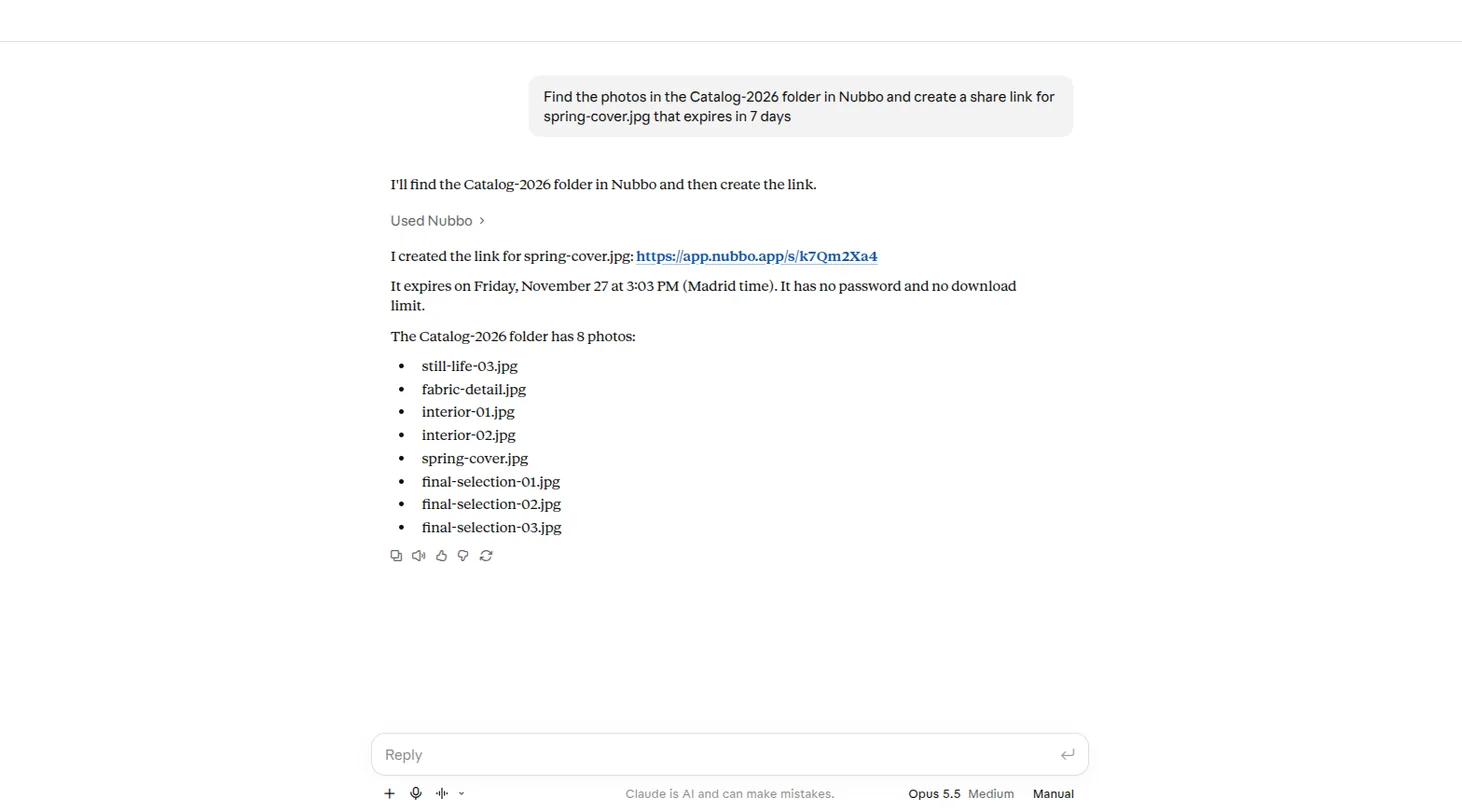
Type what you need, for example: «Find the photos in the Catalog-2026 folder in Nubbo and create a share link for spring-cover.jpg that expires in 7 days». Before it uses a tool that changes something, your assistant may ask for your permission.
Step 5: review or revoke the access
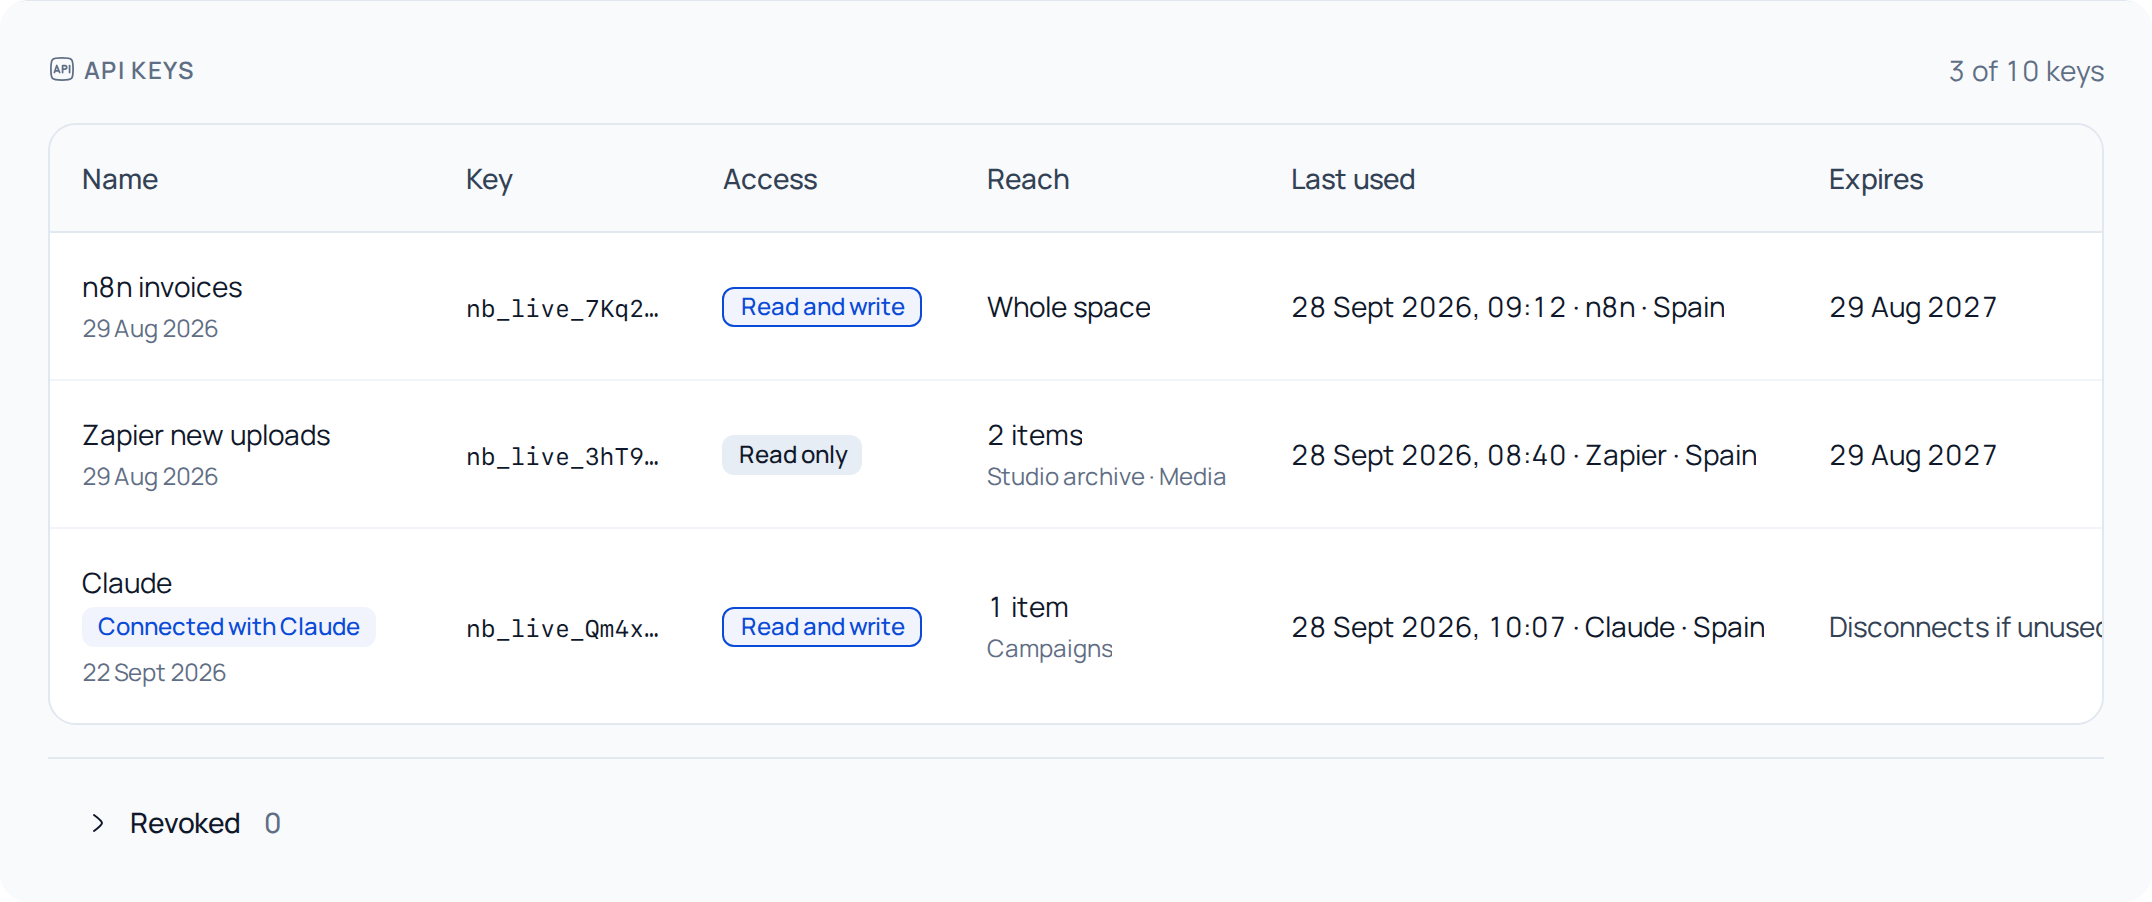
In Settings › API (or Team › API), the assistant key shows Connected with and the name of the app. From its menu you can Revoke the access at once.
If something fails
| What happens | What to do |
|---|---|
| «You need permission to manage this team’s API keys.» | Ask the owner or an admin to connect the assistant, or choose your personal space. |
| «This space already has all the API keys its plan allows.» | Revoke a key you do not use in Settings › API (or Team › API) and connect again. |
| «This request has expired» | Connect Nubbo again from your assistant. |
| The assistant says it cannot change anything | The connection is Read only. In Settings › API (or Team › API), open the key’s menu, press Edit and choose Read and write. |
More on Nubbo in your AI assistant. To automate with your own code, follow the API guide.
Frequently asked questions
Can my assistant read my encrypted files?
No. Nubbo never reads your encrypted content or passes it to the assistant. To open it, the assistant sends you to Nubbo.
What can the assistant do?
Find, read and sort your files and create links and inboxes, always with the access you chose when connecting. With Read only it cannot change anything.
Does it count as API usage?
Yes. The tools the assistant uses count as API requests of your space.
What happens if I stop using it?
The connection ends on its own if it is not used for 90 days. To use it again, connect Nubbo again from your assistant.
Sources
Steps checked against these pages.